# Consuming data from an API
At this moment you're almost an expert (with a little exaggeration) in creating Flutter applications!
You ...
- can create (a lot of) widgets
- know where to write application logic
- recognize the difference between a
Statelessand aStatefulwidget - know how to position widgets, apply fonts, show images, ...
- understand how to handle events (such as
onPressedfor theRaisedButton)
It's time to move on to the next big thing:
- call an API, capture the result and show the result in a ListView
- select an item and show the details (calling the API) in a second page
- add, update and delete items
- at the end, you will have all CRUD functionalities
# Building a User Management App
- We will demonstrate all this when building a lite version of a User Management App.
# Create the app
REMARK
- This part of the course will focus on how to using a REST API
- The Flutter widgets we already used in the previous examples aren't described in detail anymore. We won't discuss the structure of our Flutter app neither.
- Create a new flutter application with name
user_management_app. - Create the following directories in the
libfolder to organize your code:models,pages,widgetsandapis - Delete
widget_test.dartin thetestfolder - Replace the content of
main.dartwith the following code:
import 'package:flutter/material.dart';
import 'pages/user_list.dart';
void main() {
runApp(const UserManagementApp());
}
class UserManagementApp extends StatelessWidget {
// This widget is the root of your application.
const UserManagementApp({Key? key}) : super(key: key);
Widget build(BuildContext context) {
return MaterialApp(
debugShowCheckedModeBanner: false,
title: 'User Management',
theme: ThemeData(
primarySwatch: Colors.red,
),
home: const UserListPage(),
);
}
}
1
2
3
4
5
6
7
8
9
10
11
12
13
14
15
16
17
18
19
20
21
22
23
2
3
4
5
6
7
8
9
10
11
12
13
14
15
16
17
18
19
20
21
22
23
# Create the UserList page
- In the
pagesfolder, create a new fileuser_list.dart - Paste the following code
import 'package:flutter/material.dart';
class UserListPage extends StatefulWidget {
const UserListPage({Key? key}) : super(key: key);
State<StatefulWidget> createState() => _UserListPageState();
}
class _UserListPageState extends State {
Widget build(BuildContext context) {
return Scaffold(
appBar: AppBar(
title: const Text("Users"),
),
body: Container(
padding: const EdgeInsets.all(5.0),
child: const Text("Userlist"),
),
);
}
}
1
2
3
4
5
6
7
8
9
10
11
12
13
14
15
16
17
18
19
20
21
22
23
2
3
4
5
6
7
8
9
10
11
12
13
14
15
16
17
18
19
20
21
22
23
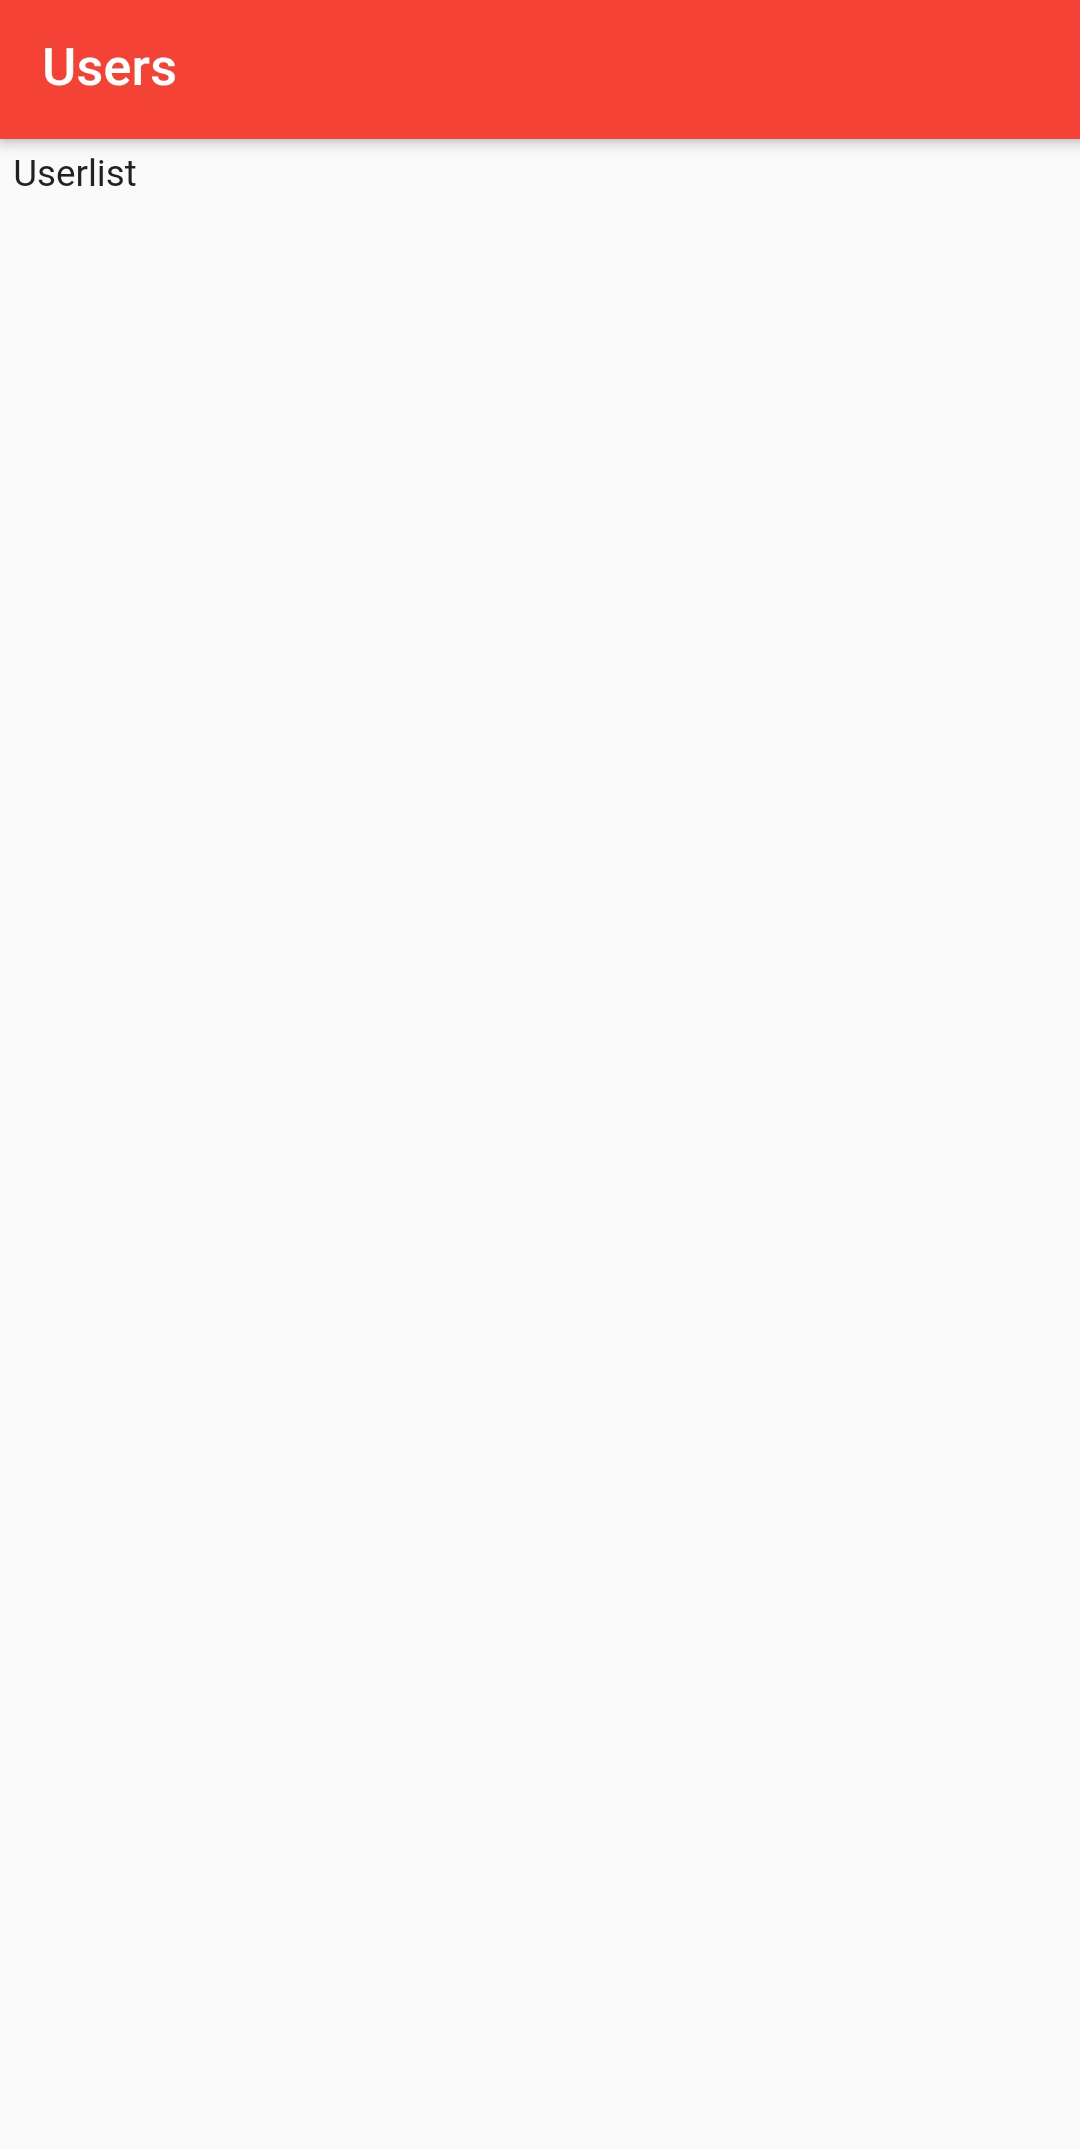
- For now, our page only contains a
Textwidget. We'll create theListViewin a moment.
# Add a ListView
- Flutter provides
ListView.builderwhich can be used to generate dynamic contents from external sources. It is a way of constructing a list where children widgets are built on demand. - The
buildermethod has two parametersitemCountdecides how many times the callback function initemBuilderwill be calleditemBuildercontains the callback function (calleditemCounttimes) that will generate the children widgets
- Let's try this out. Replace the
_UserListPageStateclass with the following code
class _UserListPageState extends State {
List<String> userList = ["George Bluth", "Janet Weaver", "Emma Wong"];
int count = 3;
Widget build(BuildContext context) {
return Scaffold(
appBar: AppBar(
title: const Text("Users"),
),
body: Container(
padding: const EdgeInsets.all(5.0),
child: _userListItems(),
),
);
}
ListView _userListItems() {
return ListView.builder(
itemCount: count,
itemBuilder: (BuildContext context, int position) {
return Card(
color: Colors.white,
elevation: 2.0,
child: Text(userList[position]),
);
},
);
}
}
1
2
3
4
5
6
7
8
9
10
11
12
13
14
15
16
17
18
19
20
21
22
23
24
25
26
27
28
29
30
2
3
4
5
6
7
8
9
10
11
12
13
14
15
16
17
18
19
20
21
22
23
24
25
26
27
28
29
30
| code | description |
|---|---|
List<String> userList | userList will contain our users (hardcoded for the moment) |
int count = 3; | the number of users |
child: _userListItems(), | the local method _userListItems will return a ListView widget. Using local methods that return widgets is also a good practice to keep your code readable. |
ListView.builder | we'll use the builder method to build a ListView |
itemCount: count, | the number of times the callback function needs to be called |
itemBuilder: (BuildContext context, int position) { | the callback function that will be called itemBuilder times. position will contain 0, 1, ... |
return Card( | we'll return a Card for every user. You can return other widgets as well, of course. It’s even possible to return a different widget at each call. |
child: Text(userList[position]), | the Card will only contain a Text with the user's name (for now at least) |
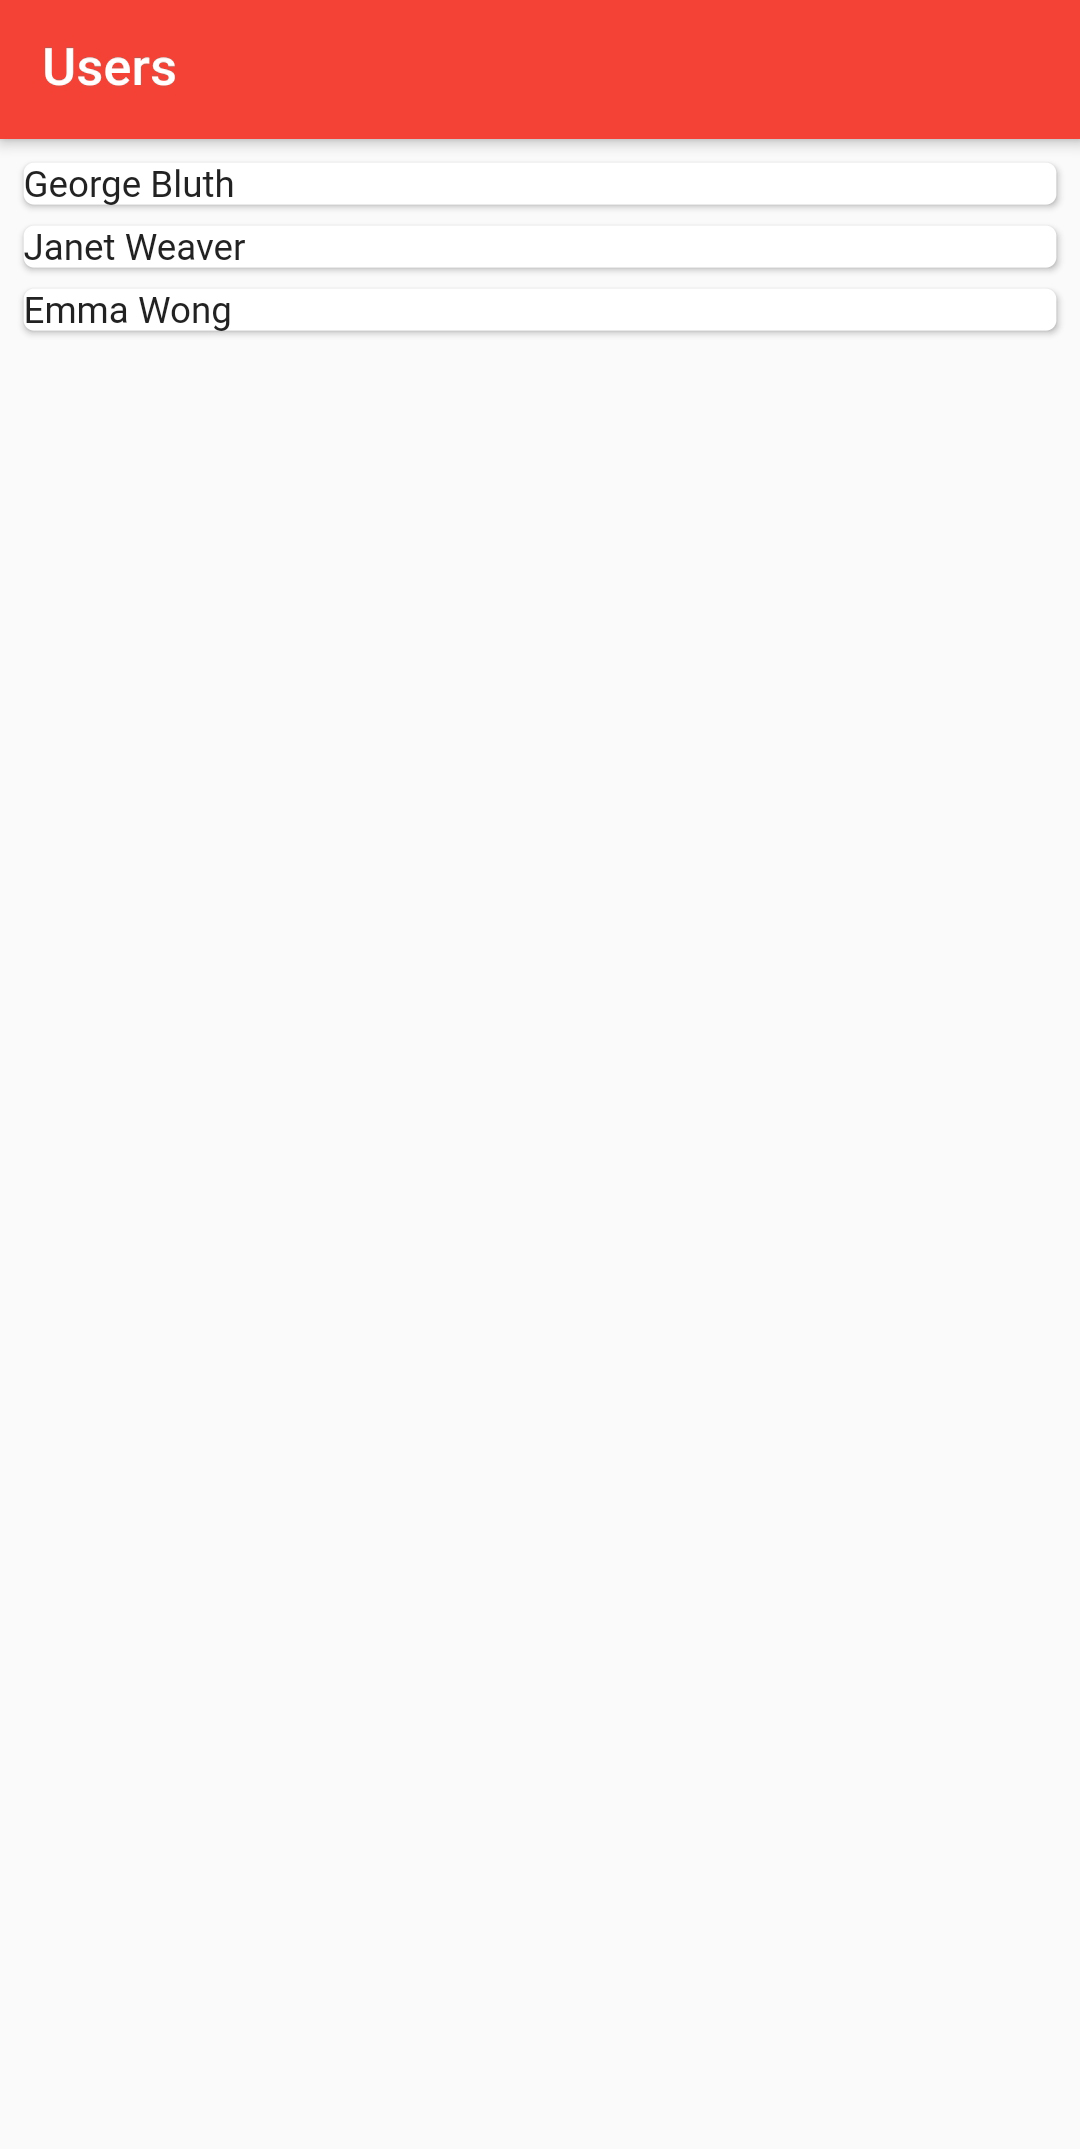
- Your
ListViewwith hardcoded users should look like this. As you can see, there is still a lot of room for improvement.
# Create the REST API
- Now that we have our
ListView, let's try to fill it with live data from a REST API. - Remember, the focus in this course is on Flutter and on (later on) Augmented Reality, not on writing an API.
# Install JSON server
Fake REST API
- We need an API, not only to read data from, but also to write data to. JSON server will get us a full fake REST API with zero coding in less than 30 seconds (seriously).
- More info: JSON server.
- Create a folder
json-server-localin the root of your application 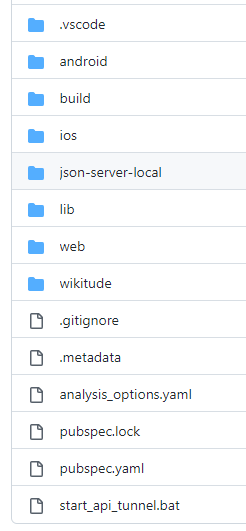
- Install JSON server
cd json-server-local
npm install -g json-server
1
2
2
- Create a
db.jsonfile with some data in thejson-server-localfolder
{
  "users": [
    {
      "id": 1,
      "email": "george.bluth@reqres.in",
      "first_name": "George",
      "last_name": "Bluth"
    },
    {
      "id": 2,
      "email": "janet.weaver@ping.be",
      "first_name": "Janet",
      "last_name": "Weaver"
    },
    {
      "id": 3,
      "email": "eve.holt@request.com",
      "first_name": "Eve",
      "last_name": "Holt"
    },
    {
      "id": 4,
      "email": "charles.morris@idaho.org",
      "first_name": "Charles",
      "last_name": "Morris"
    },
    {
      "id": 5,
      "email": "tracey.ramos@google.com",
      "first_name": "Tracey",
      "last_name": "Ramos"
    }
  ]
}
1
2
3
4
5
6
7
8
9
10
11
12
13
14
15
16
17
18
19
20
21
22
23
24
25
26
27
28
29
30
31
32
33
34
2
3
4
5
6
7
8
9
10
11
12
13
14
15
16
17
18
19
20
21
22
23
24
25
26
27
28
29
30
31
32
33
34
- Start JSON Server
json-server --watch db.json
1
- Now if you go to http://localhost:3000/users/1, you'll get
{ "id": 1, "email": "george.bluth@reqres.in", "first_name": "George", "last_name": "Bluth" }
1
- You could try all the other HTTP requests (PUT, DELETE, POST) as well.
# Install Localtunnel
- Next install Localtunnel. Localtunnel allows us to easily share our REST API to our smartphone device without messing with DNS and firewall settings.
npm install -g localtunnel
1
- Be sure JSON server is still running. Start Localtunnel in a seperate command window (use the correct portnumber, probably 3000)
lt --port 3000
1
eduroam @ Thomas More
- Localtunnel doesn't work when you're connected to the eduroam wireless network. You will get a 404 error!
- You will receive a url, for example
https://wonderful-snake-68.loca.ltorhttps://selfish-fireant-49.loca.ltor ..., that you can use to call the REST API from your smartphone (for as long as your local instance of Localtunnel remains active). Any requests will be routed to your local service at the specified port. - So if you go to https://wonderful-snake-68.loca.lt/users/1, you'll get the same user again.
start_api_tunnel.bat
- Download the start_api_tunnel.bat to automatically start the local JSON server and create the local tunnel
- Place this batch file in the
rootof your project and double click to execute - 2 terminals will be opened, in the second one you can find the url
# Calling the REST API
- Our REST API is ready and listening, let's use it to fill our
ListViewwith live data.
# Create the Model class
- Our first task is to implement a model associated with the data, we will receive back from the API:
[
  {
    "id": 1,
    "email": "george.bluth@reqres.in",
    "first_name": "George",
    "last_name": "Bluth"
  },
  {
    "id": 2,
    "email": "janet.weaver@ping.be",
    "first_name": "Janet",
    "last_name": "Weaver"
  },
...
1
2
3
4
5
6
7
8
9
10
11
12
13
14
2
3
4
5
6
7
8
9
10
11
12
13
14
- Create a new file
user.dartin themodelsfolder - Next create a
Userclass
class User {
  int id;
  String email;
  String firstname;
  String lastname;

  User({required this.id, required this.email, required this.firstname, required this.lastname});

  factory User.fromJson(Map<String, dynamic> json) {
    return User(
      id: json['id'],
      email: json['email'],
      firstname: json['first_name'],
      lastname: json['last_name'],
    );
  }

  Map<String, dynamic> toJson() =>
    {
      'email': email,
      'first_name': firstname,
      'last_name': lastname,
    };
}
1
2
3
4
5
6
7
8
9
10
11
12
13
14
15
16
17
18
19
20
21
22
23
24
2
3
4
5
6
7
8
9
10
11
12
13
14
15
16
17
18
19
20
21
22
23
24
- The
fromJsonfunction is responsible for taking JSON as an argument and returning a newUserobject. This conversion will be used for the data retrieved from the API which is - as seen above - in JSON format. - The
toJsonfunction will do the opposite. It will encode aUserobject into JSON. This conversion will be used to post/put data to the API. You don't have to include the id.
# Add the http package
- Flutter has an http package which lets us execute HTTP requests (
GET,POST,PUT,PATCH,DELETE) - To install the http package, add it to the dependencies section of the
pubspec.yamlfile
dependencies:
  flutter:
    sdk: flutter
  http: ^0.13.3
1
2
3
4
2
3
4
- If you develop for Android, add the following permission (allowing the app to use the internet to make HTTP requests) inside the manifest tag in the
AndroidManifest.xmlfile located atandroid/app/src/main
<manifest xmlns:android="http://schemas.android.com/apk/res/android"
    package="com.example.user_management_app">

   <uses-permission android:name="android.permission.INTERNET"/>

   <application
1
2
3
4
5
6
2
3
4
5
6
# Create the API class
- We will put all the HTTP requests to our API in one static class. This will keep our code readable and maintainable.
- Create a new file
user_api.dartin theapisfolder - Add these lines to
user_api.dart
import 'package:http/http.dart' as http;
import 'dart:convert';
import '../models/user.dart';

class UserApi {
  static String server = 'dull-panda-56.loca.lt';

}
1
2
3
4
5
6
7
8
2
3
4
5
6
7
8
| code | description |
|---|---|
import 'package:http/http.dart' as http; | the http package must be imported in each dart file where you call an API |
import 'dart:convert'; | encoders and decoders for converting between different data representations, including JSON |
import '../models/user.dart'; | import the User model |
static String server = 'dull-panda-56.loca.lt'; | the url of the API, of course you need to use your own url |
Localtunnel URL
- Replace the url with your own Localtunnel url. This url will change everytime you restart Localtunnel!
# Using an asynchronous method
- Calling an API will always be asynchronously. We don't want our application to freeze while waiting for the result
- Therefore we create an async static method in the
UserApiclass
# REST API call: GET /users
  static Future<List<User>> fetchUsers() async {
    var url = Uri.https(server, '/users');

    final response = await http.get(url);

    if (response.statusCode == 200) {
      List jsonResponse = json.decode(response.body);
      return jsonResponse.map((user) => User.fromJson(user)).toList();
    } else {
      throw Exception('Failed to load users');
    }
  }
1
2
3
4
5
6
7
8
9
10
11
12
2
3
4
5
6
7
8
9
10
11
12
FUTURE
A Future is used to represent a potential value, or error, that will be available at some time in the future (comparable to a promise). See docs
| code | description |
|---|---|
static Future<List<User>> fetchUsers() async { | fetchUsers() is the asynchronous function that returns a Future<List<User>>. This future contains the data which we will use to display in our app. |
var url = Uri.https(server, '/users'); | create the uri to get the data from |
final response = await http.get(url); | use the http package to call the API |
if (response.statusCode == 200) { | if the server did return a 200 OK response, then parse the JSON |
List jsonResponse = json.decode(response.body); | use the json.decode from the dart:convert package to convert the response.body into a JSON Map |
return jsonResponse.map((user) => new User.fromJson(user)).toList(); | use the map method to iterate over the json users and add a new User object to the List using the fromJson method |
# Fetch the data
- Add these lines to
user_list.dart
import 'package:flutter/material.dart';
import '../models/user.dart';
import '../apis/user_api.dart';

class UserListPage extends StatefulWidget {
...
1
2
3
4
5
6
2
3
4
5
6
| code | description |
|---|---|
import '../models/user.dart'; | import the User model |
import '../apis/user_api.dart'; | import the class containing the static function to fetch the users from the API |
- Call the
UserApi.fetchUsers()method in theinitState()method
class _UserListPageState extends State {
List<User> userList = [];
int count = 0;
void initState() {
super.initState();
_getUsers();
}
void _getUsers() {
UserApi.fetchUsers().then((result) {
setState(() {
userList = result;
count = result.length;
});
});
}
Widget build(BuildContext context) {
1
2
3
4
5
6
7
8
9
10
11
12
13
14
15
16
17
18
19
20
21
2
3
4
5
6
7
8
9
10
11
12
13
14
15
16
17
18
19
20
21
| code | description |
|---|---|
List<User> userList = []; | at first, our userList is empty |
int count = 0; | there are no users |
void initState() { | we'll use the initState() method to get our users |
UserApi.fetchUsers().then((result) { | the UserApi.fetchUsers() method returns a future. The first parameter of the then method will be invoked when the future is completed with a value. result will contain the returned value (the list with retrieved user objects). You can also have a second parameter, that will be invoked when the future is completed with an error. |
setState(() { | the setState method will change our list of users and count variable with the result from our API |
- Let's show the names of our users
  ListView _userListItems() {
    return ListView.builder(
      itemCount: count,
      itemBuilder: (BuildContext context, int position) {
        return Card(
          color: Colors.white,
          elevation: 2.0,
          child: Text(userList[position].lastname),
        );
      },
    );
  }
1
2
3
4
5
6
7
8
9
10
11
12
2
3
4
5
6
7
8
9
10
11
12
- Re-run you app. Your
ListViewshould show the names of users returned by the API.
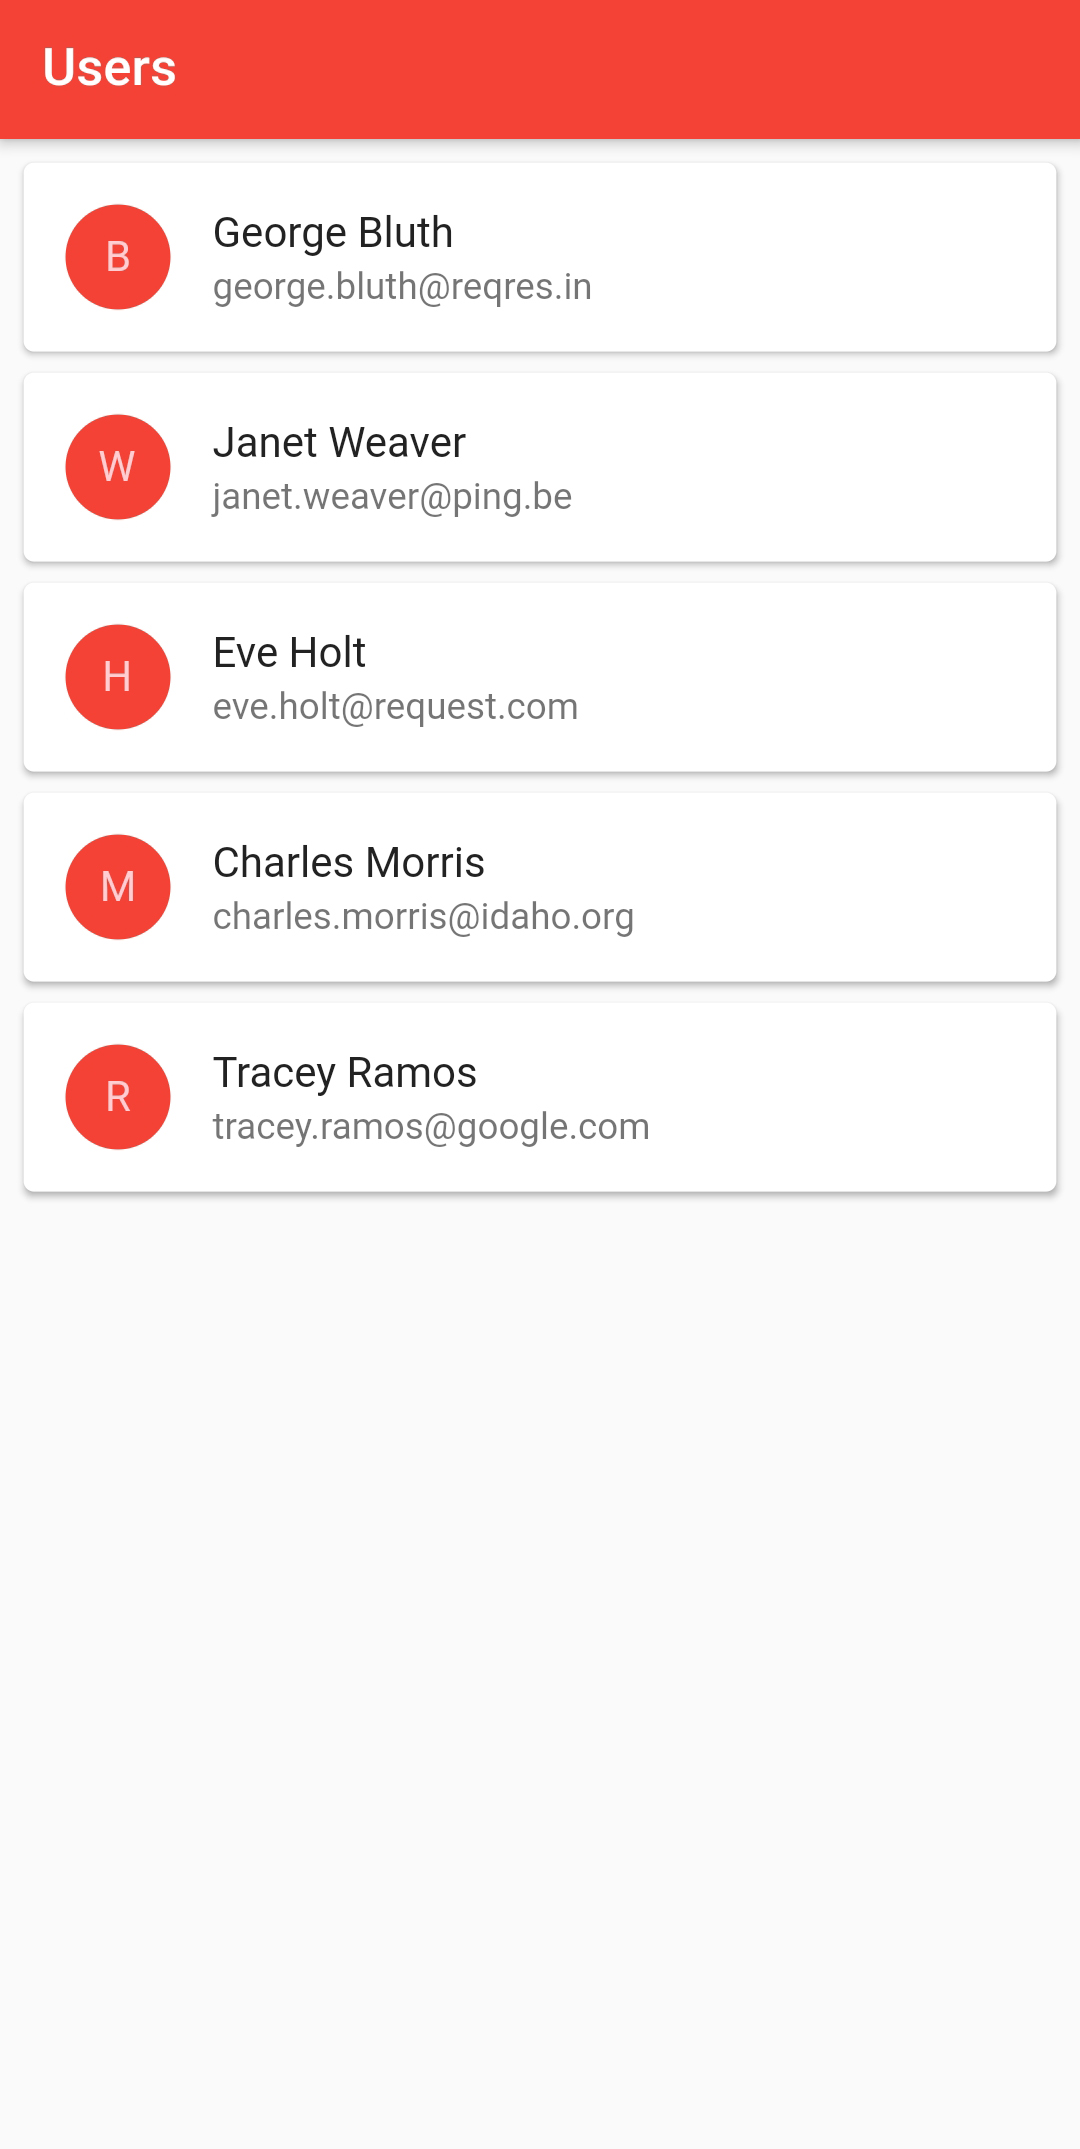
# ListTile
- Let's prettify our
ListViewusing aListTilewidget. This widget contains one to three lines of text optionally flanked by icons or other widgets, such as check boxes. - The icons (or other widgets) for the tile are defined with the
leadingandtrailingparameters. - Replace the
_userListItemsmethod
  ListView _userListItems() {
    return ListView.builder(
      itemCount: count,
      itemBuilder: (BuildContext context, int position) {
        return Card(
          color: Colors.white,
          elevation: 2.0,
          child: ListTile(
            leading: CircleAvatar(
              backgroundColor: Colors.red,
              child: Text(userList[position].lastname.substring(0, 1)),
            ),
            title: Text("${userList[position].firstname} ${userList[position].lastname}"),
            subtitle: Text(userList[position].email),
            onTap: () {
              debugPrint("Tapped on ${userList[position].id}");
            },
          ),
        );
      },
    );
  }
1
2
3
4
5
6
7
8
9
10
11
12
13
14
15
16
17
18
19
20
21
22
2
3
4
5
6
7
8
9
10
11
12
13
14
15
16
17
18
19
20
21
22
| code | description |
|---|---|
leading: CircleAvatar( | an avatar in front |
onTap: () { | when the tile is tapped, show the id of the user in the debug window |
- Hooray! You’ve got an app that fetches the users from the API.
# Showing the user details
- Now let's try to show the details of our users
# Get the user record
- Add the following static function to the
UserApiclass
# REST API call: GET /users/1
  static Future<User> fetchUser(int id) async {
    var url = Uri.https(server, '/users/$id');

    final response = await http.get(url);
    if (response.statusCode == 200) {
      return User.fromJson(jsonDecode(response.body));
    } else {
      throw Exception('Failed to load user');
    }
  }
1
2
3
4
5
6
7
8
9
10
2
3
4
5
6
7
8
9
10
| code | description |
|---|---|
static Future<User> fetchUser(int id) async { | fetchUser() is the asynchronous function that returns a Future<User>. This future contains the user data. |
var url = Uri.https(server, '/users/$id'); final response = await http.get(url); | use the http package to call the API with the id of the user |
if (response.statusCode == 200) { | if the server did return a 200 OK response, then parse the JSON |
return User.fromJson(jsonDecode(response.body)); | return the User object using the fromJson method |
# Create a detail page
- In the
pagesfolder, create a new fileuser_detail.dart - Paste the following code
import 'package:flutter/material.dart';
import '../models/user.dart';
import '../apis/user_api.dart';
class UserDetailPage extends StatefulWidget {
final int id; // our UserDetailPage has an id-parameter which contains the id of the user to show
// as always, use the key parameter and call the constructor of the super class
// the id of the user to be shown is required
const UserDetailPage({Key? key, required this.id}) : super(key: key);
State<StatefulWidget> createState() => _UserDetailPageState();
}
// implicitly specify the StatefulWidget to extend (UserDetailPage)
// if you use the generic StatefulWidget class, you can't retrieve the id attribute further on
class _UserDetailPageState extends State<UserDetailPage> {
User? user; // state variable to contain the info of the user, at first there's no info (user = null)
// we will use this page to update the user info as well, therefore we use TextEditingController's
TextEditingController firstnameController = TextEditingController();
TextEditingController lastnameController = TextEditingController();
TextEditingController emailController = TextEditingController();
void initState() {
super.initState();
// this is the id parameter you declared in the StatefulWidget class (UserDetailPage)
_getUser(widget.id); // get the user info using the api
}
void _getUser(int id) {
UserApi.fetchUser(id).then((result) {
// call the api to fetch the user data
setState(() {
user = result;
});
});
}
Widget build(BuildContext context) {
return Scaffold(
appBar: AppBar(
title: const Text("User details"),
),
body: Container(
padding: const EdgeInsets.all(5.0),
child: _userDetails(),
),
);
}
_userDetails() {
if (user == null) {
// show a ProgressIndicator as long as there's no user info
return const Center(child: CircularProgressIndicator());
} else {
TextStyle? textStyle = Theme.of(context).textTheme.bodyText1;
firstnameController.text = user!.firstname; // show the user info using the TextEditingController's
lastnameController.text = user!.lastname;
emailController.text = user!.email;
return Padding(
padding: const EdgeInsets.all(10.0),
child: Column(
children: <Widget>[
TextField(
controller: firstnameController,
style: textStyle,
keyboardType: TextInputType.text,
decoration: InputDecoration(
labelText: "First Name",
labelStyle: textStyle,
border: OutlineInputBorder(
borderRadius: BorderRadius.circular(5.0),
),
),
),
Container(
height: 15,
),
TextField(
controller: lastnameController,
style: textStyle,
keyboardType: TextInputType.text,
decoration: InputDecoration(
labelText: "Last Name",
labelStyle: textStyle,
border: OutlineInputBorder(
borderRadius: BorderRadius.circular(5.0),
),
),
),
Container(
height: 15,
),
TextField(
controller: emailController,
style: textStyle,
keyboardType: TextInputType.emailAddress,
decoration: InputDecoration(
labelText: "Email",
labelStyle: textStyle,
border: OutlineInputBorder(
borderRadius: BorderRadius.circular(5.0),
),
),
),
],
),
);
}
}
}
1
2
3
4
5
6
7
8
9
10
11
12
13
14
15
16
17
18
19
20
21
22
23
24
25
26
27
28
29
30
31
32
33
34
35
36
37
38
39
40
41
42
43
44
45
46
47
48
49
50
51
52
53
54
55
56
57
58
59
60
61
62
63
64
65
66
67
68
69
70
71
72
73
74
75
76
77
78
79
80
81
82
83
84
85
86
87
88
89
90
91
92
93
94
95
96
97
98
99
100
101
102
103
104
105
106
107
108
109
110
111
112
113
114
115
116
117
- We know, this is a lot of code, but 95% of it, you should be familiar with by now. We've put some comments on the other 5% lines.
# Navigate to the detail page
- Add these lines to
user_list.dart
...
import 'user_detail.dart';

class UserListPage extends StatefulWidget {
...
            onTap: () {
              _navigateToDetail(userList[position].id);
            },
...
  void _navigateToDetail(int id) async {
    await Navigator.push(
      context,
      MaterialPageRoute(builder: (context) => UserDetailPage(id: id)),
    );

    _getUsers();
  }
}
1
2
3
4
5
6
7
8
9
10
11
12
13
14
15
16
17
18
2
3
4
5
6
7
8
9
10
11
12
13
14
15
16
17
18
| code | description |
|---|---|
_navigateToDetail(userList[position].id); | navigate to the UserDetailPage using the id of the tapped user as parameter |
await Navigator.push( | add the UserDetailPage page at the top of the stack. wait executing the remaining programme code until the users comes back from the UserDetailPage |
_getUsers(); | when coming back from the UserDetailPage, fetch the users again so the updated information (in the detail page) is visible |
NAVIGATION
- Navigation in Flutter is based on a stack. A stack contains the pages, that an app has used from the beginning.
- When you want to change the page in Flutter, you use an object called
Navigator, and there you have two methods that deal with a stack.- The
pushmethod puts a new page at the top of the stack. When you use the push method, you need to specify your route, which is the page you want to load. - The
popmethod removes the page from the screen so that the previous page on your stack gets visible again.
- The
- Both push and pop requires a context in order to work.
- When you tap a user in the list, you should see the app navigating to the detail page and showing the user info.

# Inserting, updating and deleting a user
- Let's finish our app by implementing the other CRUD functionalities
# Update the UserApi
- Add the following static functions to the
UserApiclass
# REST API call: POST /users
  static Future<User> createUser(User user) async {
    var url = Uri.https(server, '/users');

    final http.Response response = await http.post(
      url,
      headers: <String, String>{
        'Content-Type': 'application/json; charset=UTF-8',
      },
      body: jsonEncode(user),
    );
    if (response.statusCode == 201) {
      return User.fromJson(jsonDecode(response.body));
    } else {
      throw Exception('Failed to create user');
    }
  }
1
2
3
4
5
6
7
8
9
10
11
12
13
14
15
16
2
3
4
5
6
7
8
9
10
11
12
13
14
15
16
# REST API call: PUT /users/1
  static Future<User> updateUser(int id, User user) async {
    var url = Uri.https(server, '/users/$id');

    final http.Response response = await http.put(
      url,
      headers: <String, String>{
        'Content-Type': 'application/json; charset=UTF-8',
      },
      body: jsonEncode(user),
    );
    if (response.statusCode == 200) {
      return User.fromJson(jsonDecode(response.body));
    } else {
      throw Exception('Failed to update user');
    }
  }
1
2
3
4
5
6
7
8
9
10
11
12
13
14
15
16
2
3
4
5
6
7
8
9
10
11
12
13
14
15
16
# REST API call: DELETE /users/1
  static Future deleteUser(int id) async {
    var url = Uri.https(server, '/users/$id');

    final http.Response response =
        await http.delete(url);
    if (response.statusCode == 200) {
      return;
    } else {
      throw Exception('Failed to delete user');
    }
  }
1
2
3
4
5
6
7
8
9
10
11
2
3
4
5
6
7
8
9
10
11
REMARK
- When using the POST / PUT method, we'll send the user data to be inserted / updated in the body of the HTTP request.
- To encode a user, pass the User object to the jsonEncode() function. You don’t need to call the toJson() method of the
Userclass, since jsonEncode() already does it for you. - Do not forget to specify
'Content-Type': 'application/json; charset=UTF-8'in the header of the request.
# FloatingActionButton
- Add a
FloatingActionButtonto theScaffoldof theUserListPage
Widget build(BuildContext context) {
return Scaffold(
appBar: AppBar(
title: const Text("Users"),
),
floatingActionButton: FloatingActionButton(
onPressed: () {
_navigateToDetail(0);
},
tooltip: "Add new User",
child: const Icon(Icons.add),
),
body: Container(
padding: const EdgeInsets.all(5.0),
child: _userListItems(),
),
);
}
1
2
3
4
5
6
7
8
9
10
11
12
13
14
15
16
17
18
19
2
3
4
5
6
7
8
9
10
11
12
13
14
15
16
17
18
19
| code | description |
|---|---|
_navigateToDetail(0); | navigate to the UserDetailPage passing 0 as the id parameter. Since we will insert a new user, there's no id. |
- Modify the
initStatemethod of theUserDetailPage
void initState() {
super.initState();
if (widget.id == 0) {
user = User(id: 0, firstname: "", lastname: "", email: "");
} else {
// this is the id parameter you declared in the StatefulWidget class (UserDetailPage)
_getUser(widget.id); // get the user info using the api
}
}
1
2
3
4
5
6
7
8
9
10
2
3
4
5
6
7
8
9
10
| code | description |
|---|---|
if (widget.id == 0) { | if there's no id, instantiate the new user, otherwise use the api to fetch the user data |
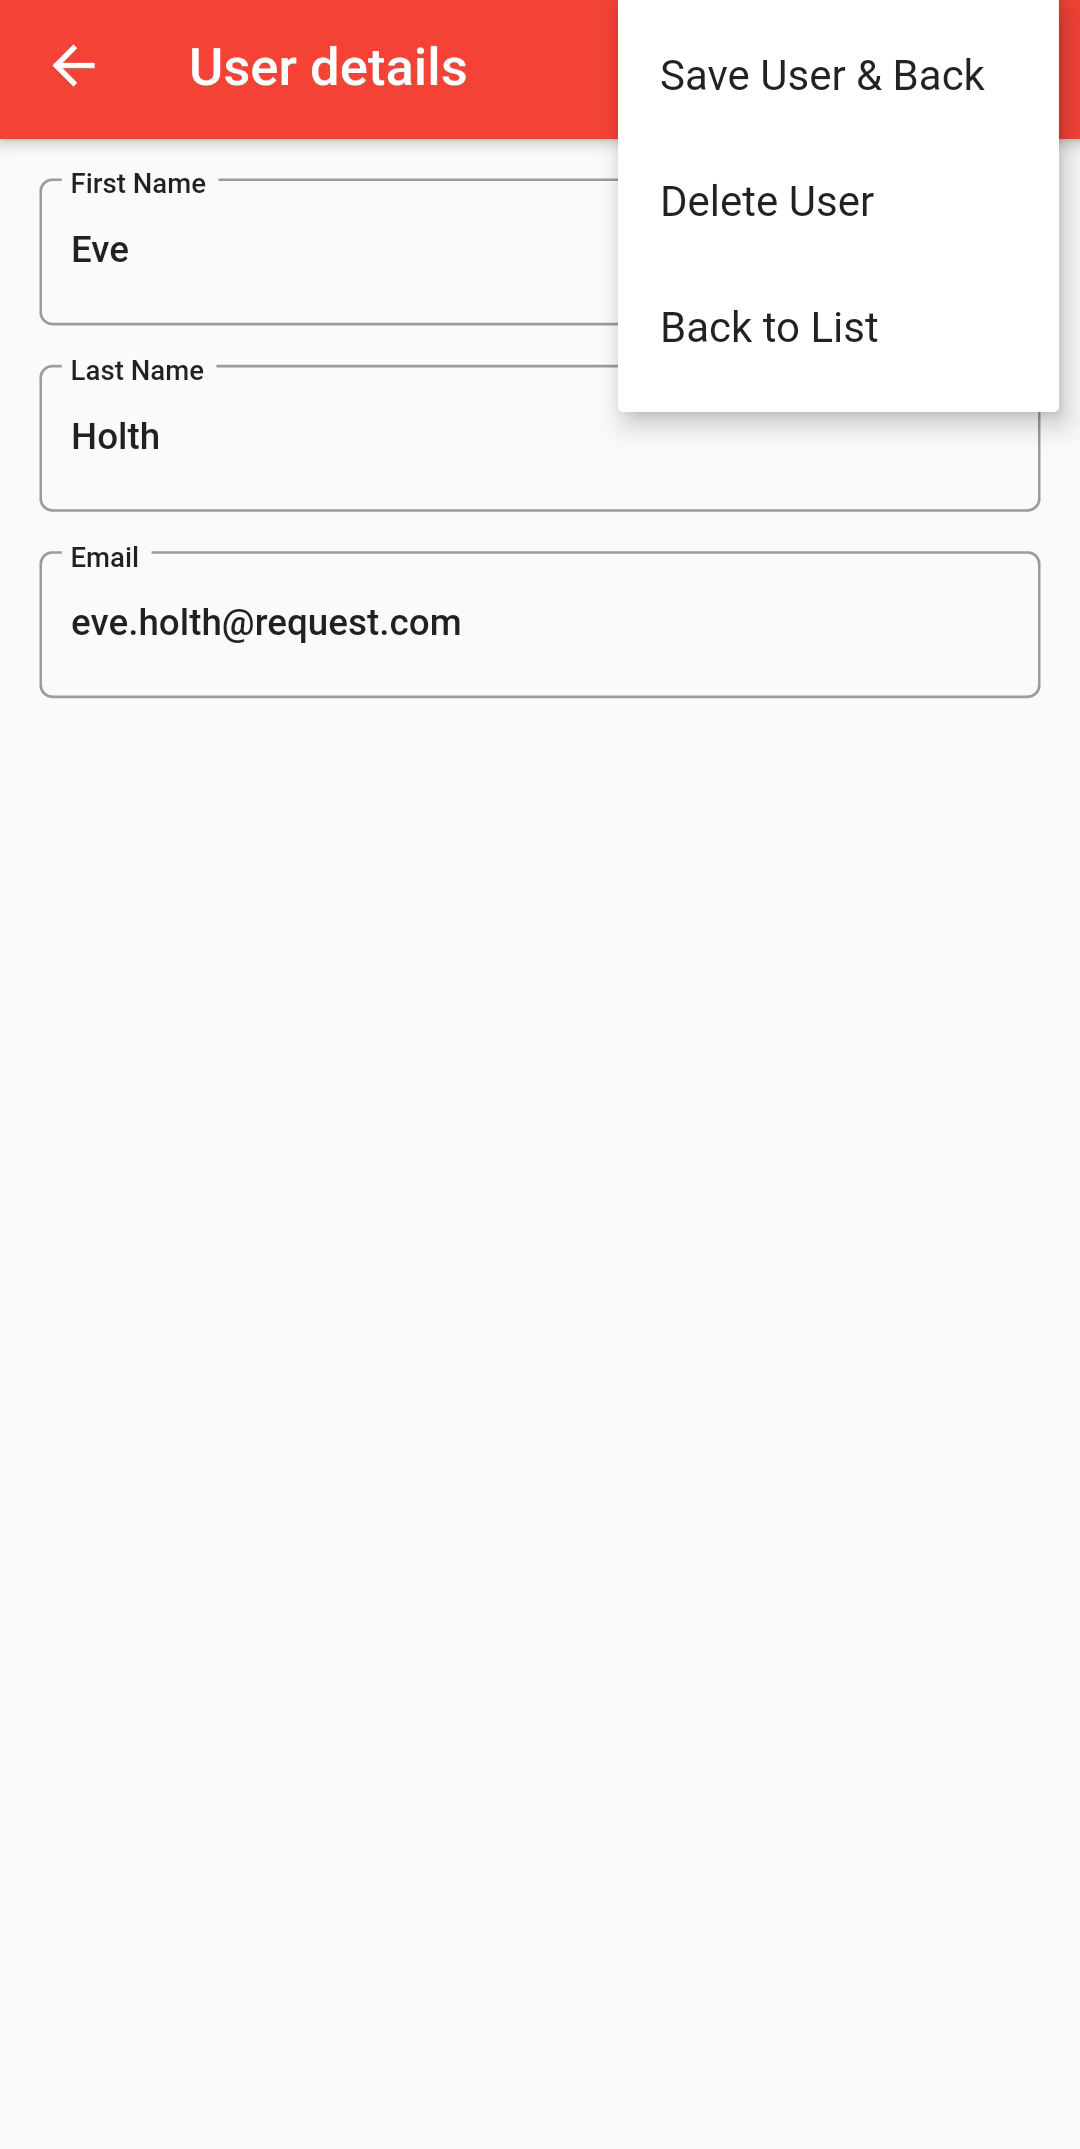
# Add a pop-up menu
- First, let's create an array of strings that will contain the menu text we want to show to the user. Add these lines to
user_detail.dart
...
const List<String> choices = <String>[
  'Save User & Back',
  'Delete User',
  'Back to List'
];

class UserDetailPage extends StatefulWidget {
...
1
2
3
4
5
6
7
8
9
2
3
4
5
6
7
8
9
- Create the menu by adding these lines to the
buildmethod
Widget build(BuildContext context) {
return Scaffold(
appBar: AppBar(
title: const Text("User details"),
actions: <Widget>[
PopupMenuButton<String>(
onSelected: _menuSelected,
itemBuilder: (BuildContext context) {
return choices.asMap().entries.map((entry) {
return PopupMenuItem<String>(
value: entry.key.toString(),
child: Text(entry.value),
);
}).toList();
},
),
],
),
body: Container(
padding: const EdgeInsets.all(5.0),
child: _userDetails(),
),
);
}
1
2
3
4
5
6
7
8
9
10
11
12
13
14
15
16
17
18
19
20
21
22
23
24
25
2
3
4
5
6
7
8
9
10
11
12
13
14
15
16
17
18
19
20
21
22
23
24
25
| code | description |
|---|---|
actions: <Widget>[ PopupMenuButton<String>( | in the actions property of our AppBar widget, we'll put a PopupMenuButton of type String. |
onSelected: _menuSelected, | in the onSelected property, we will call a method called _menuSelect that we will create shortly |
itemBuilder: (BuildContext context) { return choices.asMap().entries.map((entry) { | in the itemBuilder property, we'll return a map of the choices |
return PopupMenuItem<String>( | for each element of the choices array, we'll return a PopupMenuItem |
value: entry.key.toString(), | value will be the index of the choice |
child: Text(entry.value), | the child will be a Text containing the choice text value |
# Complete the app
- We're almost there. Let's complete the app by adding these methods to the
_UserDetailPageStateclass
  void _menuSelected(String index) async {
    switch (index) {
      case "0": // Save User & Back
        _saveUser();
        break;
      case "1": // Delete User
        _deleteUser();
        break;
      case "2": // Back to List
        Navigator.pop(context, true);
        break;
      default:
    }
  }

  void _saveUser() {
    user!.firstname = firstnameController.text;
    user!.lastname = lastnameController.text;
    user!.email = emailController.text;

    if (user!.id == 0) {
      UserApi.createUser(user!).then((result) {
        Navigator.pop(context, true);
      });
    } else {
      UserApi.updateUser(widget.id, user!).then((result) {
        Navigator.pop(context, true);
      });
    }
  }

  void _deleteUser() {
    UserApi.deleteUser(widget.id).then((result) {
      Navigator.pop(context, true);
    });
  }
1
2
3
4
5
6
7
8
9
10
11
12
13
14
15
16
17
18
19
20
21
22
23
24
25
26
27
28
29
30
31
32
33
34
35
36
2
3
4
5
6
7
8
9
10
11
12
13
14
15
16
17
18
19
20
21
22
23
24
25
26
27
28
29
30
31
32
33
34
35
36
| code | description |
|---|---|
Navigator.pop(context, true); | back to the UserList |
if (user!.id == 0) { | if the id is 0, insert the new user, otherwise update the user |
UserApi.createUser(user!).then((result) { Navigator.pop(context, true); }); | insert the user using the UserApi class and return to the UserList |
UserApi.updateUser(widget.id, user!).then((result) { Navigator.pop(context, true); }); | update the user using the UserApi class and return to the UserList |
UserApi.deleteUser(widget.id).then((result) { Navigator.pop(context, true); }); | delete the user using the UserApi class and return to the UserList |
- Well done! This completes our app. Try to insert, update and delete a user using the
UserDetailPage
# Exercise - The New York Times
- In this exercise we will create an app that reads some news articles from The New York Times api
- The user has the possibility to select articles according to his interest
- By tapping the article, he can read the full article on the site of The New York Times
# Create the app
- Create a new flutter application with name
nyt_app - Create the following directories in the
libfolder to organize your code:models,pages,apisandwidgets - Delete
widget_test.dartin thetestfolder - In
main.dartopen aMaterialAppwith the right colors (blueGrey). The name of the app isNewYorkTimesApp. Remove that uggly debug banner. In the home property call the page widget for the default route of the app:PostListPage
# Design the UI of the PostListPage
- Create a new file
post_list.dartin thepagesfolder - Since we don't focus on the UI in this section, we'll give the code for free
import 'package:flutter/material.dart';
import '../widgets/post_tile.dart';
List<String> sections = [
"home", "arts", "automobiles", "books", "business", "fashion", "food", "health", "insider", "magazine",
"movies", "national", "nyregion", "obituaries", "opinion", "politics", "realestate", "science", "sports",
"sundayreview", "technology", "theater", "tmagazine", "travel", "upshot", "world"
];
class PostListPage extends StatefulWidget {
const PostListPage({Key? key}) : super(key: key);
State<StatefulWidget> createState() => _PostListPageState();
}
class _PostListPageState extends State {
// the first version of this tutorial was published on Oct. 16, 2020
// (before the November elections and long before the approval of the first coronavirus vaccine)
// very happy to see both predictions came true
List<String> postList = ['Trump loses election', 'Coronavirus vaccine soon available'];
String section = 'home';
void initState() {
super.initState();
}
Widget build(BuildContext context) {
return Scaffold(
appBar: AppBar(
title: const Text("The New York Times"),
),
body: Container(
padding: const EdgeInsets.all(10.0),
child: Column(
children: <Widget>[
_sectionsDropDown(),
Expanded(
child: _postListItems(),
),
],
),
),
);
}
ListView _postListItems() {
return ListView.builder(
itemCount: postList.length,
itemBuilder: (context, position) {
return PostTile(
title: postList[position],
imageUrl: 'https://picsum.photos/300/200',
abstract: 'Lorem ipsum dolor sit amet, consectetur adipiscing elit, sed do eiusmod tempor incididunt ut labore et dolore magna aliqua.',
onTapped: () {
//
});
});
}
DropdownButton _sectionsDropDown() {
return DropdownButton<String>(
isExpanded: true,
items: sections.map((String section) {
return DropdownMenuItem<String>(
value: section,
child: Text(
section,
style: const TextStyle(
color: Colors.black87,
fontSize: 20),
),
);
}).toList(),
value: section,
onChanged: (value) {
//
},
);
}
}
1
2
3
4
5
6
7
8
9
10
11
12
13
14
15
16
17
18
19
20
21
22
23
24
25
26
27
28
29
30
31
32
33
34
35
36
37
38
39
40
41
42
43
44
45
46
47
48
49
50
51
52
53
54
55
56
57
58
59
60
61
62
63
64
65
66
67
68
69
70
71
72
73
74
75
76
77
78
79
80
81
82
83
84
85
2
3
4
5
6
7
8
9
10
11
12
13
14
15
16
17
18
19
20
21
22
23
24
25
26
27
28
29
30
31
32
33
34
35
36
37
38
39
40
41
42
43
44
45
46
47
48
49
50
51
52
53
54
55
56
57
58
59
60
61
62
63
64
65
66
67
68
69
70
71
72
73
74
75
76
77
78
79
80
81
82
83
84
85
- We'll use a custom widget to show the newsposts
- Create a new file
post_tile.dartin thewidgetsfolder
import 'package:flutter/material.dart';
typedef MyCallback = void Function();
class PostTile extends StatelessWidget {
final String title, imageUrl, abstract;
final MyCallback onTapped;
const PostTile(
{Key? key,
required this.title,
required this.imageUrl,
required this.abstract,
required this.onTapped})
: super(key: key);
Widget build(BuildContext context) {
return GestureDetector(
onTap: () {
onTapped();
},
child: Column(
children: <Widget>[
ClipRRect(
borderRadius: BorderRadius.circular(10.0),
child: Image.network(
imageUrl,
height: 200,
width: MediaQuery.of(context).size.width,
fit: BoxFit.cover,
),
),
Container(
height: 5,
),
Text(
title,
style: const TextStyle(
color: Colors.black87,
fontSize: 20,
fontWeight: FontWeight.w500),
),
Container(
height: 5,
),
Text(
abstract,
style: const TextStyle(color: Colors.black54, fontSize: 14),
),
Container(
height: 20,
),
],
),
);
}
}
1
2
3
4
5
6
7
8
9
10
11
12
13
14
15
16
17
18
19
20
21
22
23
24
25
26
27
28
29
30
31
32
33
34
35
36
37
38
39
40
41
42
43
44
45
46
47
48
49
50
51
52
53
54
55
56
57
58
2
3
4
5
6
7
8
9
10
11
12
13
14
15
16
17
18
19
20
21
22
23
24
25
26
27
28
29
30
31
32
33
34
35
36
37
38
39
40
41
42
43
44
45
46
47
48
49
50
51
52
53
54
55
56
57
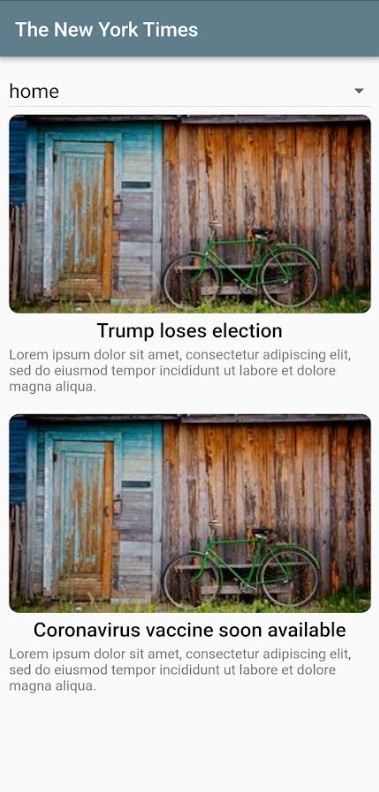
58
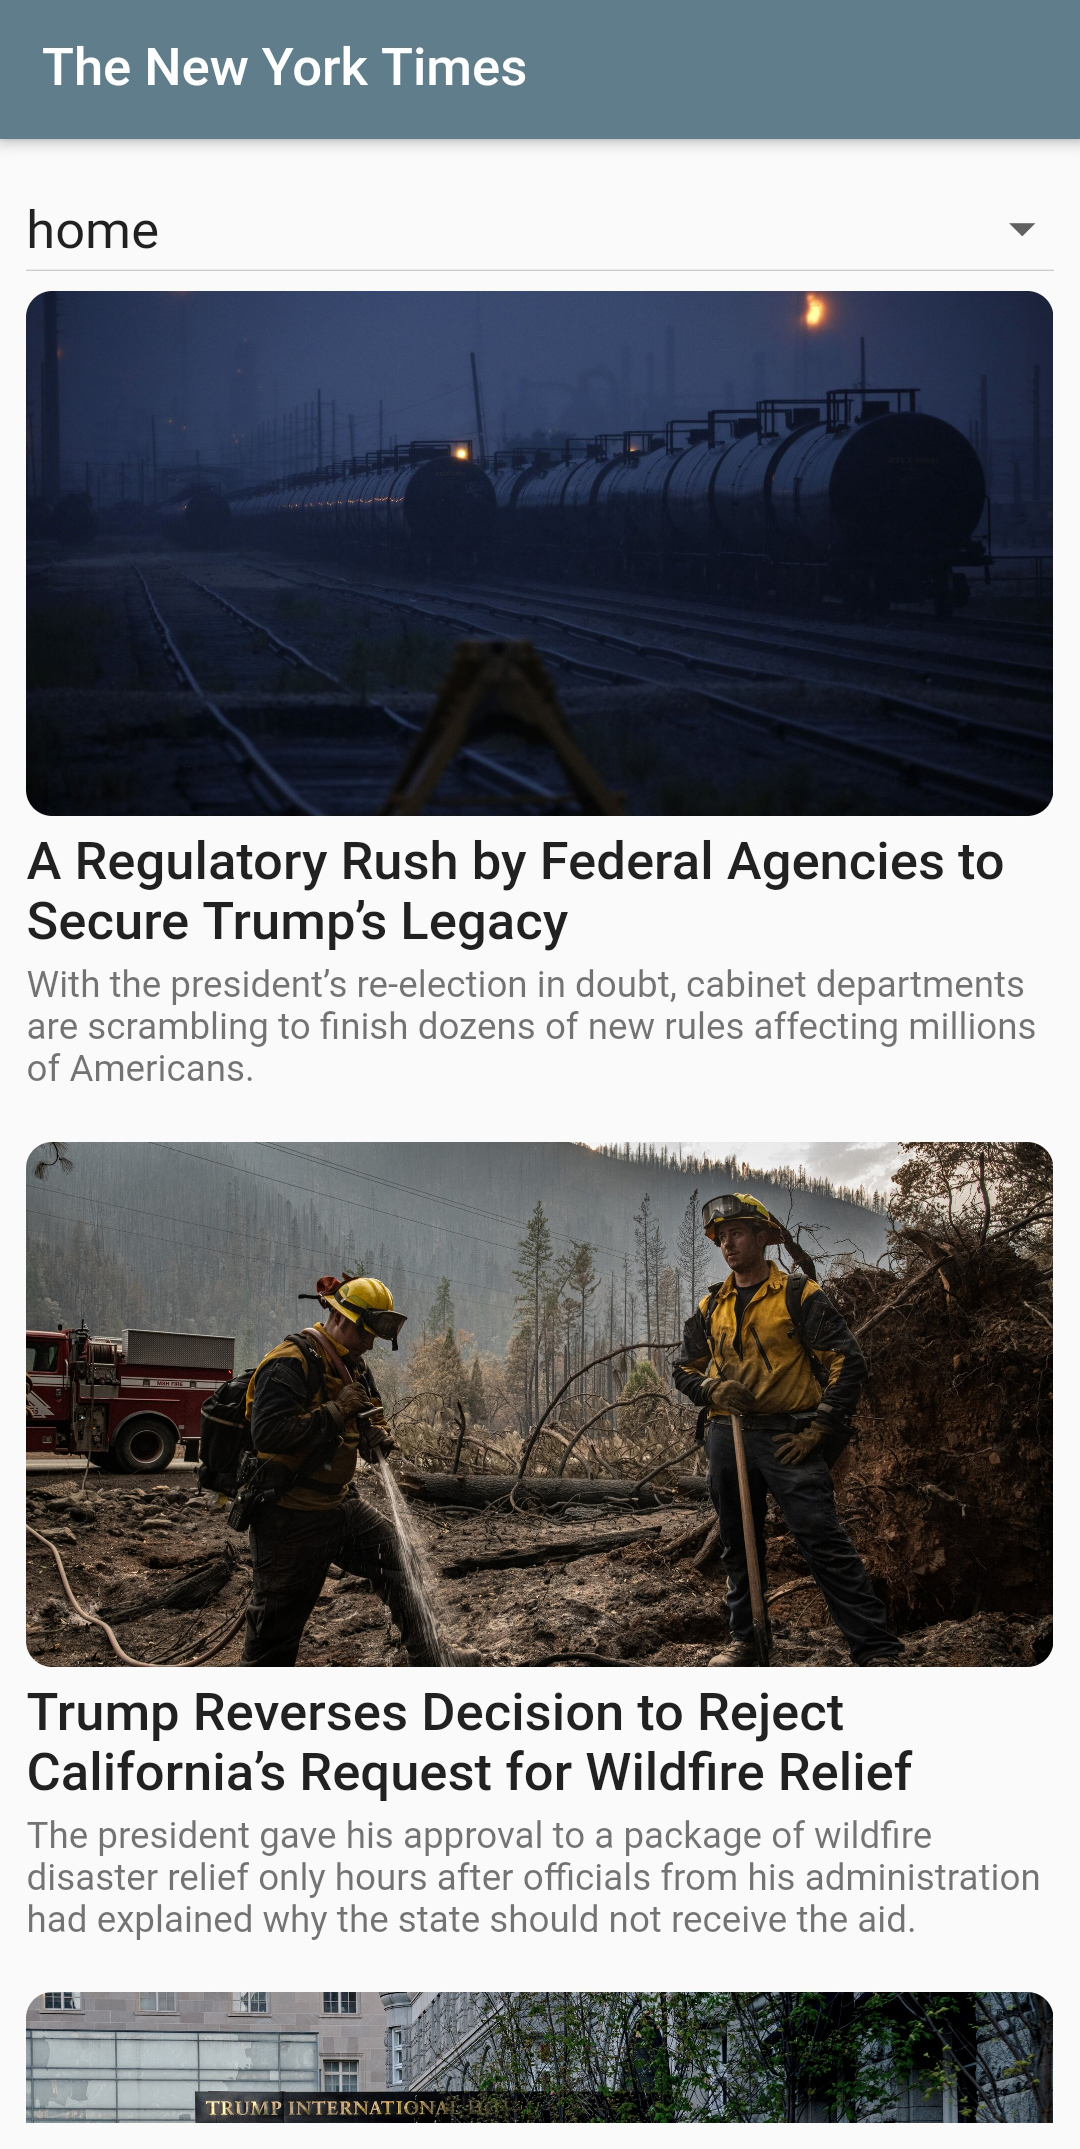
- Run the app and you should see the next app (with a random image):
# The New York Times API
- Go to The New York Times, create a free account and ask a key for the Top Stories API
- Now you can read all the newsposts from the home section (provide api-key) (or the sports section or ...)
# Create a Newspost model
- In the
modelsfolder, create a filepost.dart - Create a model
Postwith these attributes:title,url,imageUrlandabstract - Since we will only read data, we only need a
fromJsonmethod - You can use the code below to get the
imageUrl(if there is one)
    String imageUrl;
    List multimedia = json['multimedia'] as List;
    if (multimedia.isEmpty) {
      imageUrl = 'https://picsum.photos/300/200';
    } else {
      imageUrl = multimedia
          .firstWhere((media) => media['format'] == "Super Jumbo")['url'];
    }
1
2
3
4
5
6
7
8
2
3
4
5
6
7
8
# Create the API class
- First add the http package to the dependencies section of the
pubspec.yamlfile - Add internet permission to the Android
AndroidManifest.xmlfile - Create a new file
nyt_api.dartin theapisfolder - Create a class
NytApiwith a static asynchronousfetchPosts(section)method which retrieves all newsposts from the given section- Tip: use the
Uri.parsemethod to parse your string to a url which can be accepted by thehttp.getmethod!
- Tip: use the
- Use the
json.decodefrom thedart:convertpackage to convert the response into a JSON Map. The code is slightly different from the one we've seen in the example application. We only need theresultspart and useutf8-encoding
List jsonResponse = json.decode(utf8.decode(response.bodyBytes))['results'];
1
# Fetch the newsposts
- First fetch all the home posts using the
NytApiclass
- Modify your
PostListPageand try to fetch the posts of the selected section (e.g. science)

# Navigate to the article
- We'll use a
WebViewwidget to show the whole article - Add the webview dependency to
pubspec.yaml. Make sure to use version 3.0.0!
dependencies:
  flutter:
    sdk: flutter
  http: ^0.13.3
  webview_flutter: ^3.0.0
1
2
3
4
5
2
3
4
5
- We also have to specifically set our minSdkVersion to 19! We can do this in the
build.gradle(located inandroid\app):
defaultConfig {
        // TODO: Specify your own unique Application ID (https://developer.android.com/studio/build/application-id.html).
        applicationId "com.example.nyt_app"
        // You can update the following values to match your application needs.
        // For more information, see: https://docs.flutter.dev/deployment/android#reviewing-the-gradle-build-configuration.
        minSdkVersion 19
        targetSdkVersion flutter.targetSdkVersion
        versionCode flutterVersionCode.toInteger()
        versionName flutterVersionName
    }
1
2
3
4
5
6
7
8
9
10
2
3
4
5
6
7
8
9
10
- Create a new file
post_detail.dartin thepagesfolder - Create the
PostDetailPagestateful widget. The constructor has one parameter, the url of the article that has to be shown - Use a
WebViewwidget to show the article- Use it as a
childof yourContainer - Set the
initialUrlto the url of the article
- Use it as a
- In the
PostListPage, navigate to thePostDetailPagewhen an article is tapped in theListView, passing the url of the article as a parameter - Now you can read the full article