# Creating your first app
# Create a new Flutter project
Folder name
- Make sure that all the parent folders don't contain spaces or special characters as this might break the build!
There are two ways to create a new flutter project:
- Command line:
flutter create hello_flutterhello_flutter= application name
- VS Code
- View - Command Palette (or
Ctrl+Shift+P)

- Flutter: New Project

- Choose the Application template
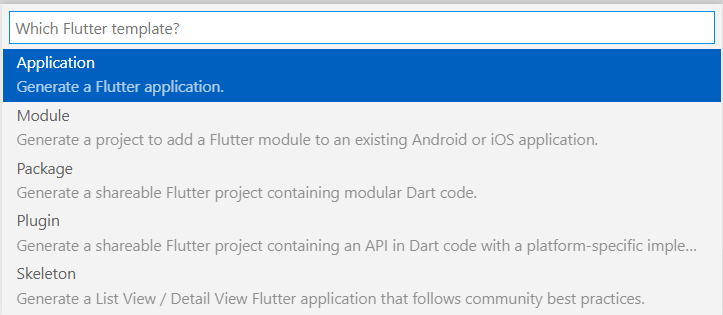
- Choose the folder where you save all your Flutter projects (create one if needed)
- Enter the project name
hello_flutter
- View - Command Palette (or
REMARK
There are some conventions about the name of a flutter application:
- only lower case characters
- separate words are combined with underscore(s)
# Run the Flutter App
You can run your Flutter application in three different ways.
# Chrome
- The simplest method (and fastest) is to just use your browser.
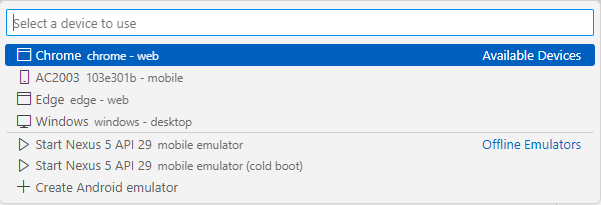
- Click in the status bar at the bottom right on Windows (windodows-x64)

and choose Chrome as the device to use.
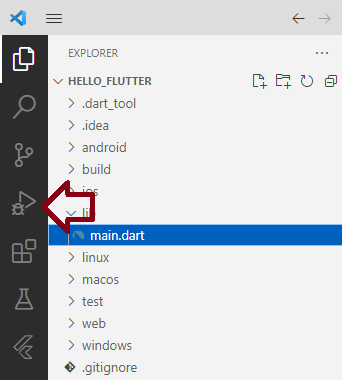
- To run/debug your app you have to click on the triangle icon in the left bar
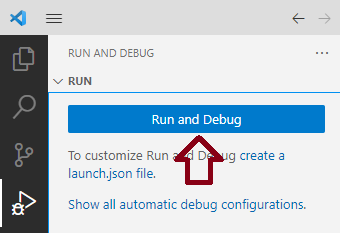
- Click on the 'Run and Debug' button to run the app
- After a while
WARNING
Note, however, that your browser will not support all the features of a real smartphone. For example, you won't be able to test out the AR part via your browser. But the Flutter part of the course should work without any problems.
# Your smartphone
If you set up developer options on your smartphone and give permission for USB debugging, you can run your App on your smartphone. Click in the status bar at the bottom right and choose your smartphone as the device to use.
Click on the 'Run and Debug' button to run the app
First run
- The first run might take some time, as there are probably some more android specific installations needed
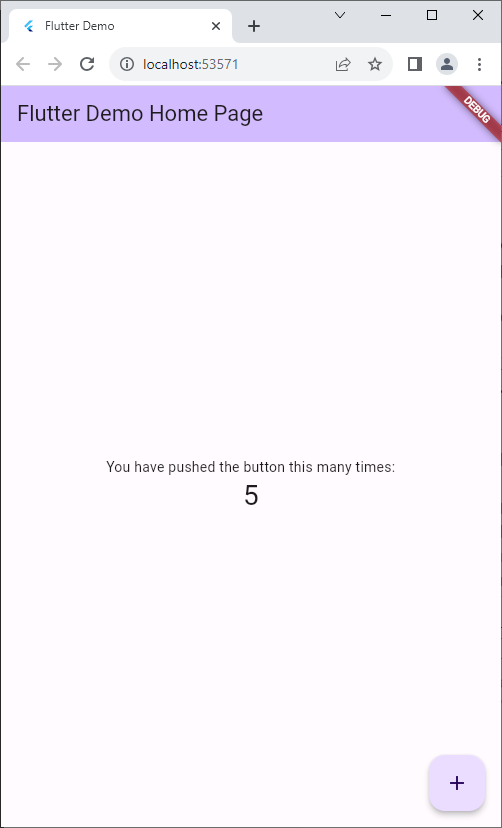
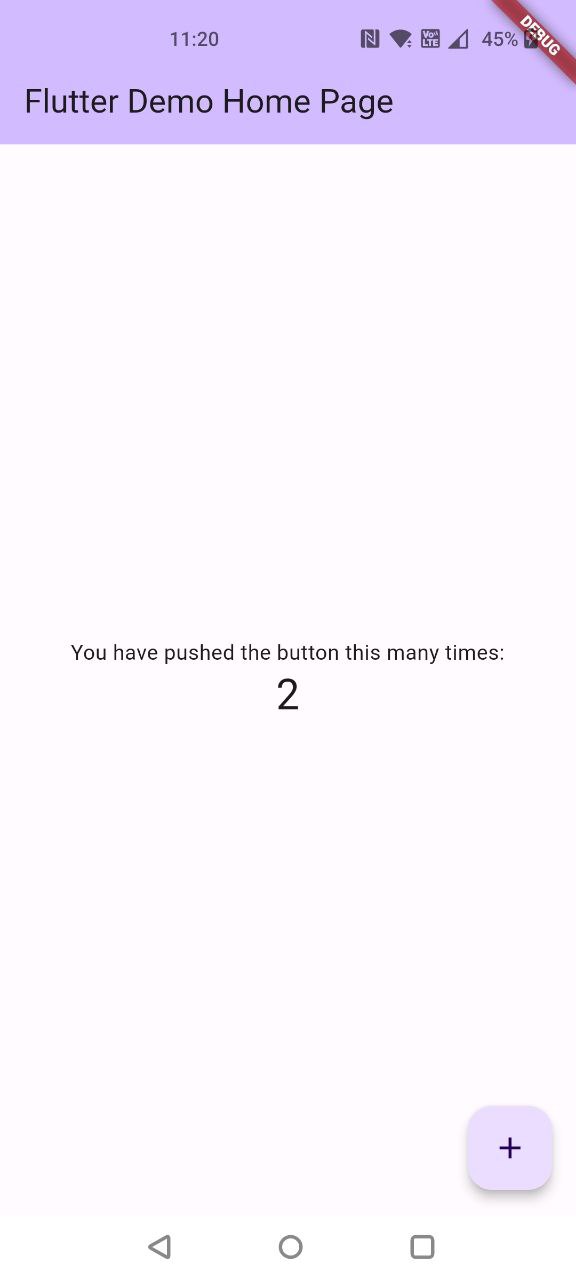
- The result:
# An Emulator
The last option is to use an emulator. This is the least convenient option. You must first create an emulator via Android Studio (see previous page).
# Simplify
- The
MyAppclass is by default to complex to explain how Flutter works. Therefore we are going to simplify it. - Delete the file
widget_test.dartin thetestfolder in the root of your project - Delete all the contents of the
lib\main.dartfile and add the following content:
import 'package:flutter/material.dart';

void main() {
  runApp(
    const Center(
      child: Text(
        "Hello Flutter!",
        textDirection: TextDirection.ltr,
      ),
    ),
  );
}
2
3
4
5
6
7
8
9
10
11
12
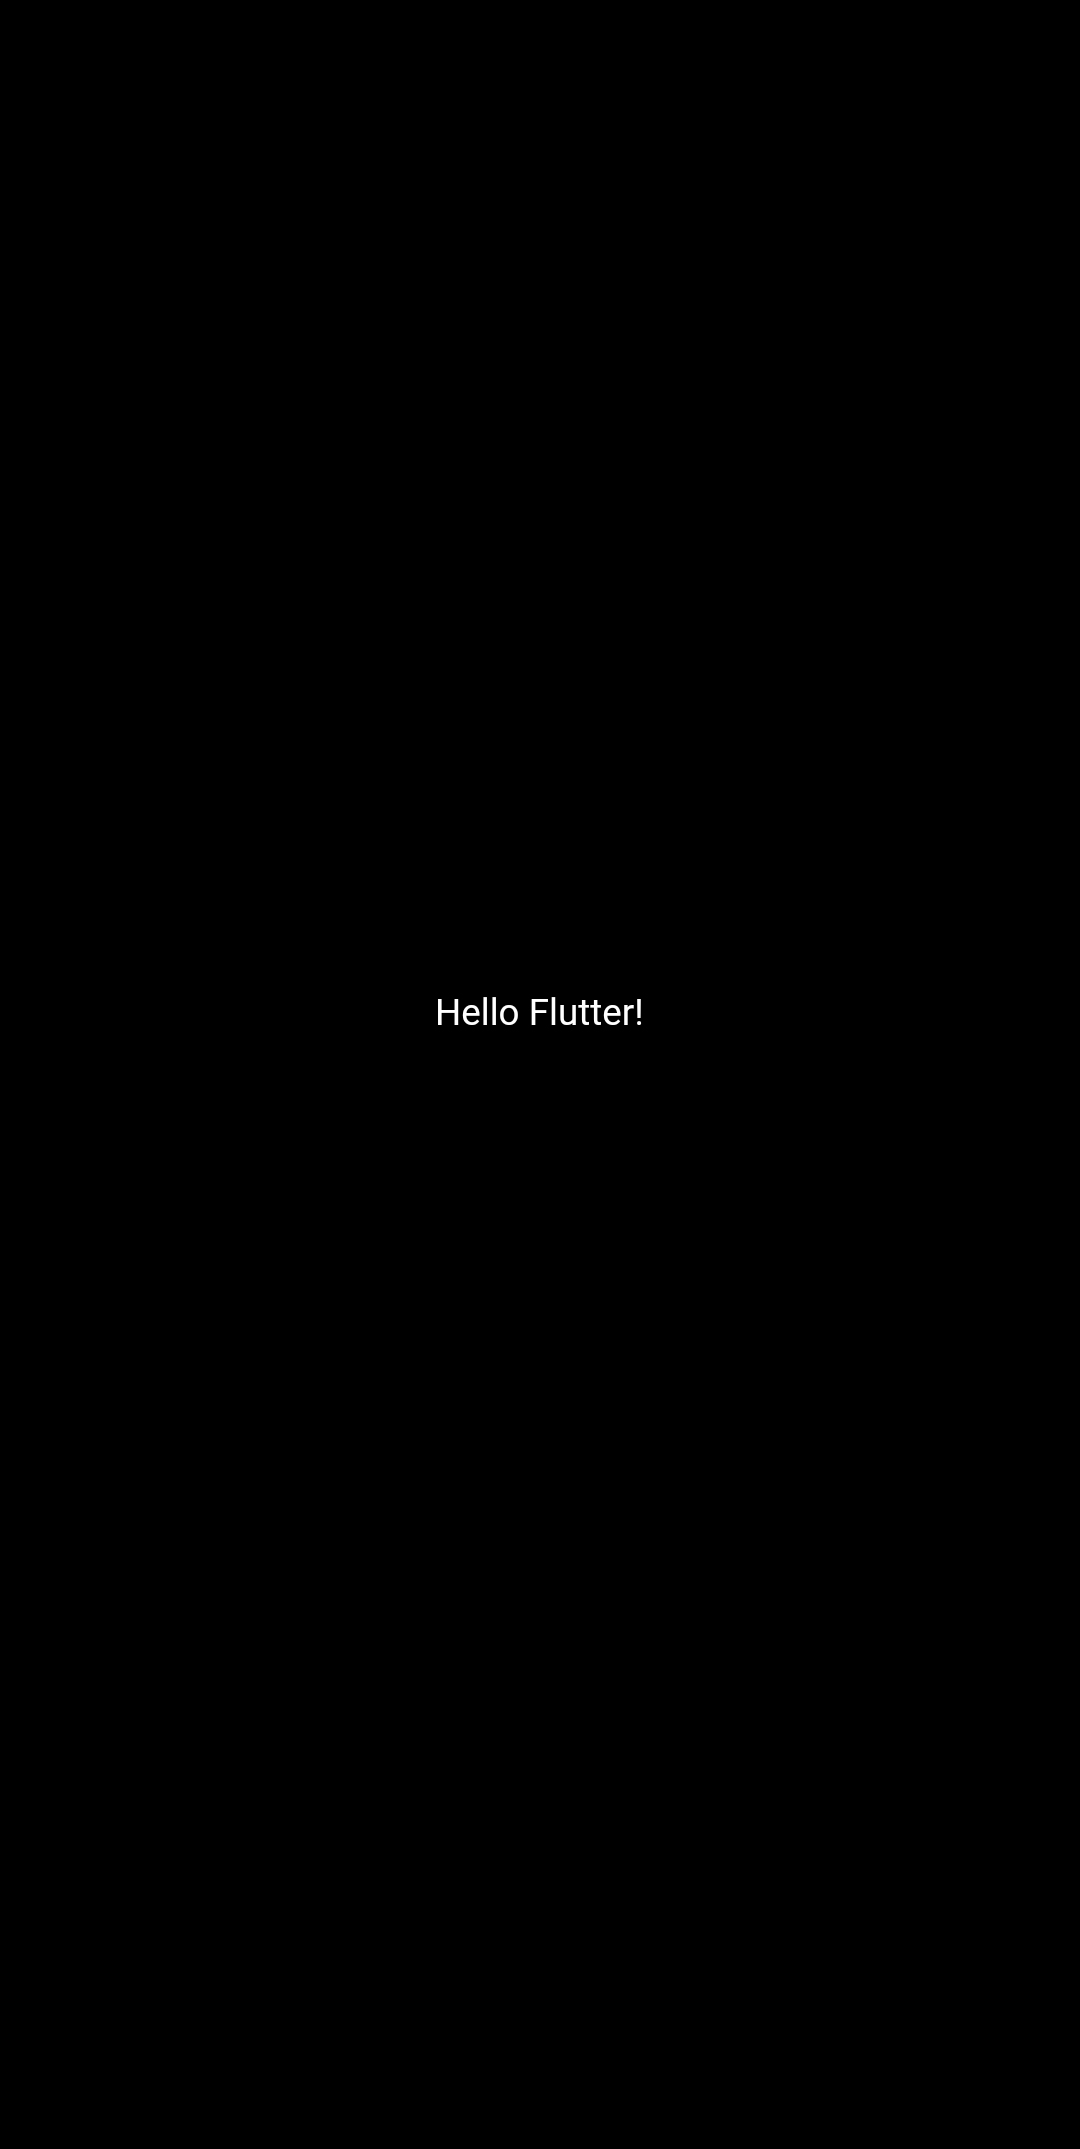
- Re-run your app (in your web browser, the background may be grey.):
TIP
When you are programming in Flutter you will see a lot of rounded brackets. It is a good idea, when nesting those brackets,
to put a comma behind these brackets and pressing alt-shift-f afterwards to format your code.
# Widgets
In Flutter (almost) everything is a Widget! Let's have a look at our hello_flutter app:
import 'package:flutter/material.dart';

void main() {
  runApp(
    const Center(
      child: Text(
        "Hello Flutter!",
        textDirection: TextDirection.ltr,
      ),
    ),
  );
}
2
3
4
5
6
7
8
9
10
11
12
| code | description |
|---|---|
import 'package:flutter/material.dart'; | this package contains all Flutter widgets implementing Material Design |
main | entry point of a Flutter application |
runApp | shows a widget on the screen of your device |
Center | a widget that centers its child within itself (text is displayed in center of app) |
Text | a widget that displays a string of text with single style |
textDirection | property of Text Widget |
OFFICIAL DOCUMENTATION
All the widgets, classes, methods, properties, ... are described in detail in the Flutter - Dart API docs
# Material design
- It's easy to prettify our user interface by using Material Design. There are a lot of widgets available in the material package that we imported before
- Update the
runAppmethod as shown below:
void main() {
  runApp(
    const MaterialApp(
      title: 'Hello Flutter App',
      home: Material(
        color: Colors.deepPurple,
        child: Center(
          child: Text(
            "Hello Flutter!",
            textDirection: TextDirection.ltr,
            style: TextStyle(color: Colors.white, fontSize: 36.0),
          ),
        ),
      ),
    ),
  );
}
2
3
4
5
6
7
8
9
10
11
12
13
14
15
16
17
| code | description |
|---|---|
const MaterialApp() | defines that the app will use Material Design |
title | title of the app used by the device to identify the app for the user |
home | property to define the widget for the default route of the app |
Material() | material widget |
color | background color of the material widget |
child | property to define the one and only possible child widget of the material widget |
style | property to apply a TextStyle to the text |
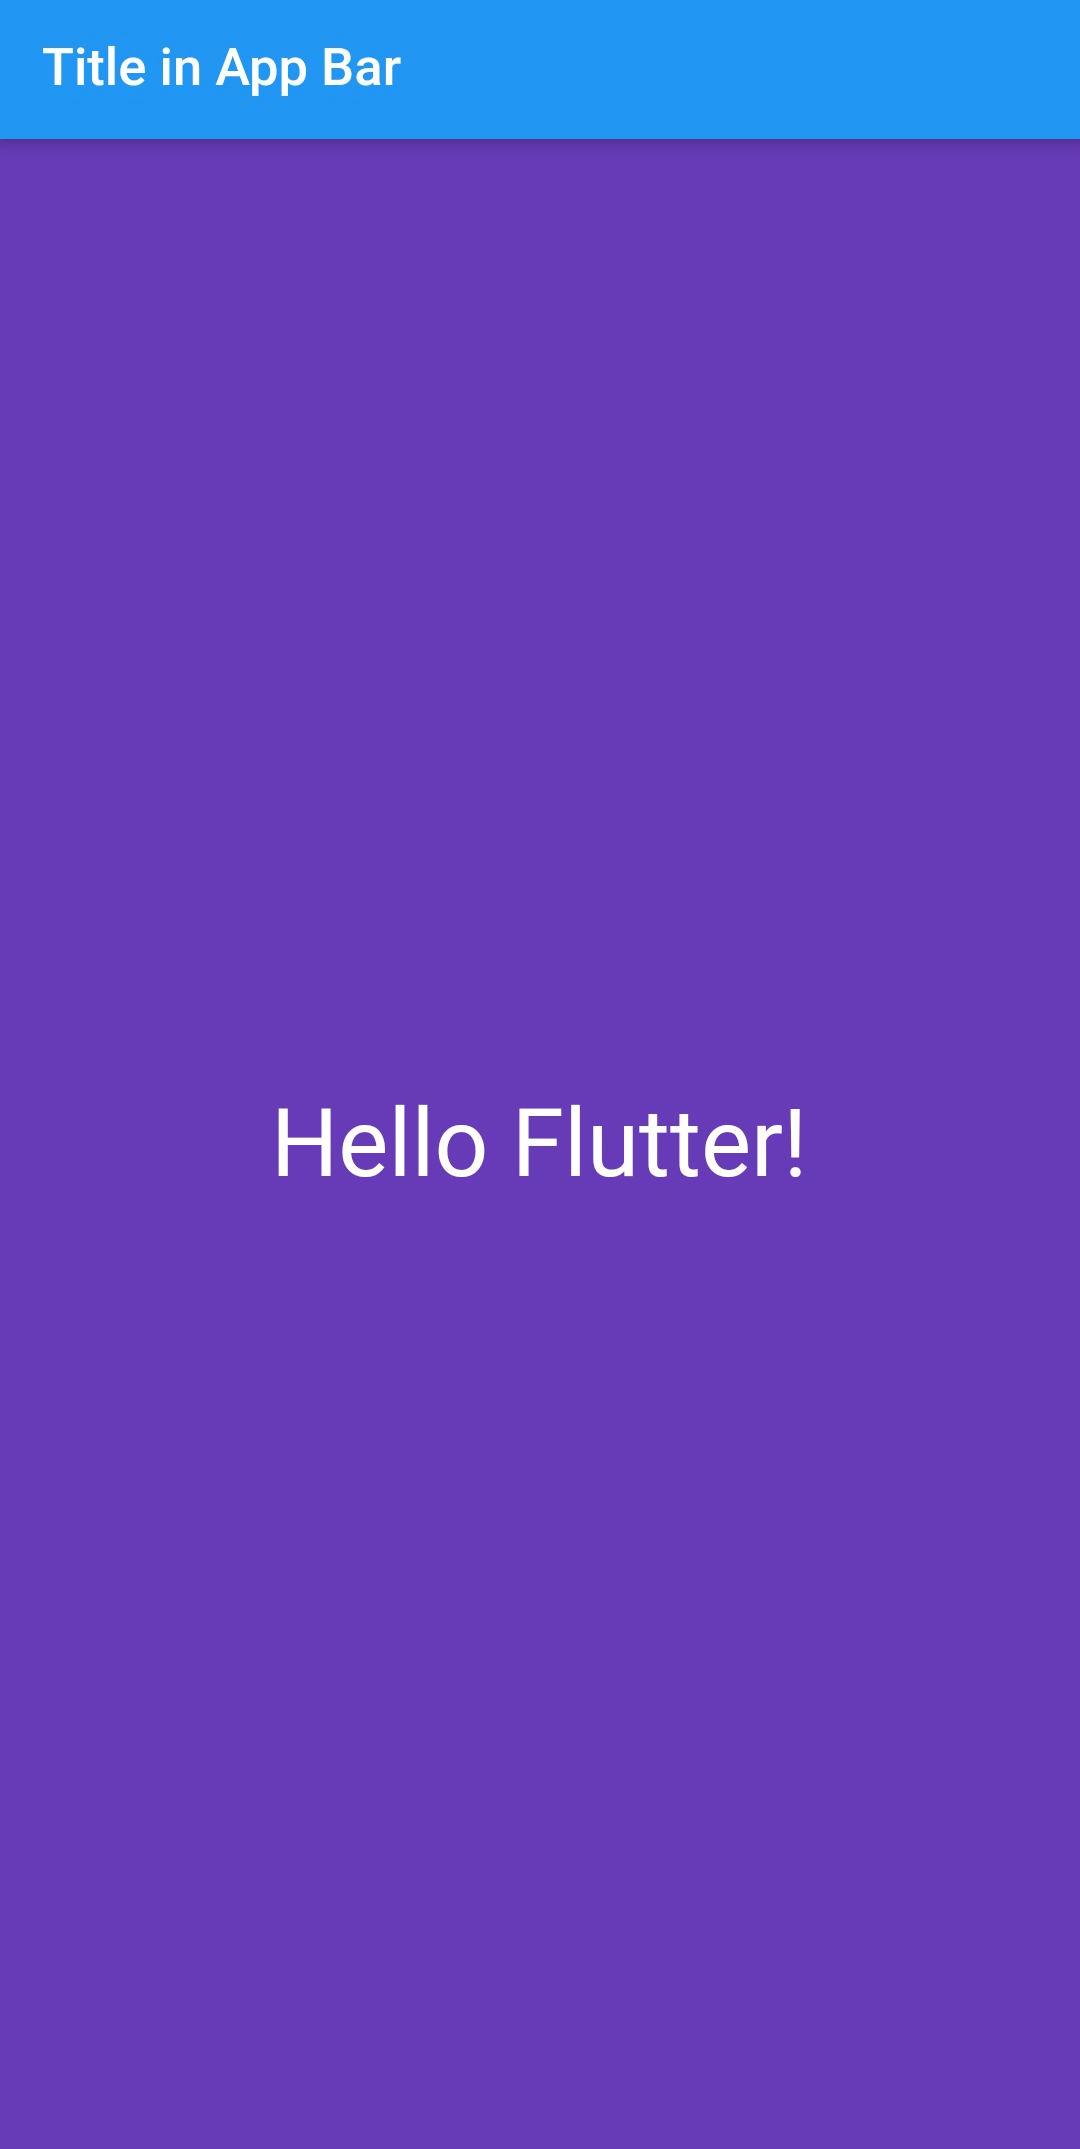
# Scaffold class
- Implements the basic material design visual layout structure
- This class provides APIs for showing drawers, snack bars, and bottom sheets
- Via the
appBarproperty we can add an application bar to the app
void main() {
  runApp(
    MaterialApp(
      title: 'Hello Flutter App',
      home: Scaffold(
        appBar: AppBar(
          title: const Text("Title in App Bar"),
        ),
        body: const Material(
          color: Colors.deepPurple,
          child: Center(
            child: Text(
              "Hello Flutter!",
              textDirection: TextDirection.ltr,
              style: TextStyle(color: Colors.white, fontSize: 36.0),
            ),
          ),
        ),
      ),
    ),
  );
}
2
3
4
5
6
7
8
9
10
11
12
13
14
15
16
17
18
19
20
21
22
23
| code | description |
|---|---|
Scaffold() | class that implements the basic material design visual layout structure |
appBar | property from Scaffold class to define an application bar |
AppBar() | class to implement the application bar |
title | property from AppBar class for the title of the application bar |
body | property from Scaffold class to to define the primary content of this scaffold |
# Organizing your code
- Flutter applications are written in Dart
- Dart is an object oriented programming language, so we can make use of classes, objects, methods, ...
- At this moment we have a very large
mainmethod - We can reorganize our code by using some object oriented programming techniques
void main() => runApp(const HelloFlutterApp());
class HelloFlutterApp extends StatelessWidget {
const HelloFlutterApp({Key? key}) : super(key: key);
Widget build(BuildContext context) {
return MaterialApp(
title: 'Hello Flutter App',
home: Scaffold(
appBar: AppBar(
title: const Text("Title in App Bar"),
),
body: const Material(
color: Colors.deepPurple,
child: Center(
child: Text(
"Hello Flutter!",
textDirection: TextDirection.ltr,
style: TextStyle(color: Colors.white, fontSize: 36.0),
),
),
),
),
);
}
}
2
3
4
5
6
7
8
9
10
11
12
13
14
15
16
17
18
19
20
21
22
23
24
25
26
27
| code | description |
|---|---|
void main() => ... | creates object (instance) from HelloFlutterApp class |
class HelloFlutterApp extends StatelessWidget | HelloFlutterApp class extends the StatelessWidget class. The class will inherit from the StatelessWidget class, which is a generic widget that never needs to change. StatelessWidget is the super class, HelloFlutterApp the sub class. This is how you implement inheritance in Dart |
const HelloFlutterApp({Key? key}) : super(key: key); | All widgets should have a Key key as optional parameter in their constructor. Key is something used by flutter engine at the step of recognizing which widget in a list as changed. |
Widget build(BuildContext context) | The build method is called when this widget is initialized and inserted into the tree. |
# Modularity
When your application grows, defining all classes in one file quickly becomes messy. A good convention is to create a separate file for each class (or page).
- Create a new folder
pagesin thelibfolder - In this folder create a new file
home.dart- This file will contain a new class definition
HomePagewhich returns our earlier created Scaffold with AppBar and Material widget
- This file will contain a new class definition
# lib\pages\home.dart
import 'package:flutter/material.dart';
class HomePage extends StatelessWidget {
const HomePage({Key? key}) : super(key: key);
Widget build(BuildContext context) {
return Scaffold(
appBar: AppBar(
title: const Text("Title in App Bar"),
),
body: const Material(
color: Colors.deepPurple,
child: Center(
child: Text(
"Hello Flutter!",
textDirection: TextDirection.ltr,
style: TextStyle(color: Colors.white, fontSize: 36.0),
),
),
),
);
}
}
2
3
4
5
6
7
8
9
10
11
12
13
14
15
16
17
18
19
20
21
22
23
24
- This
HomePagewidget is- a
Scaffoldwidget withAppBaras body - a
Materialwidget - which centers the text
Hello Flutter!
- a
# lib\main.dart
import 'package:flutter/material.dart';
import './pages/home.dart';
void main() => runApp(const HelloFlutterApp());
class HelloFlutterApp extends StatelessWidget {
const HelloFlutterApp({Key? key}) : super(key: key);
Widget build(BuildContext context) {
return const MaterialApp(
debugShowCheckedModeBanner: false,
title: 'Hello Flutter App',
home: HomePage(),
);
}
}
2
3
4
5
6
7
8
9
10
11
12
13
14
15
16
17
| code | description |
|---|---|
import './pages/home.dart'; | imports the home.dart file (and everything that is declared in it) |
debugShowCheckedModeBanner: false | removes the ugly debugger banner |
home: HomePage() | a HomePage() object is created and placed in the body. The HomePage widget contains a nice page with AppBar and body and will be showed inside the MaterialApp widget. |
- Your app should now look like the image below:
# Adding logic
- Every application needs logic for performing tasks, calling an API,...
- Because a widget is a class, you can add logic by writing methods
# Methods
- A method is written in the class
- Add the following
sayHello()method to theHomePagewidget:
class HomePage extends StatelessWidget {
const HomePage({Key? key}) : super(key: key);
Widget build(BuildContext context) {
return Scaffold(
...
);
}
String sayHello() {
String hello;
DateTime now = DateTime.now();
int hour = now.hour;
if (hour < 12) {
hello = "Good Morning";
} else if (hour < 18) {
hello = "Good Afternoon";
} else {
hello = "Good Evening";
}
return hello;
}
}
2
3
4
5
6
7
8
9
10
11
12
13
14
15
16
17
18
19
20
21
22
23
24
25
26
| code | description |
|---|---|
String sayHello() { ... } | a method named sayHello that returns a string |
if, else if, else | a conditional if, else if, else statement |
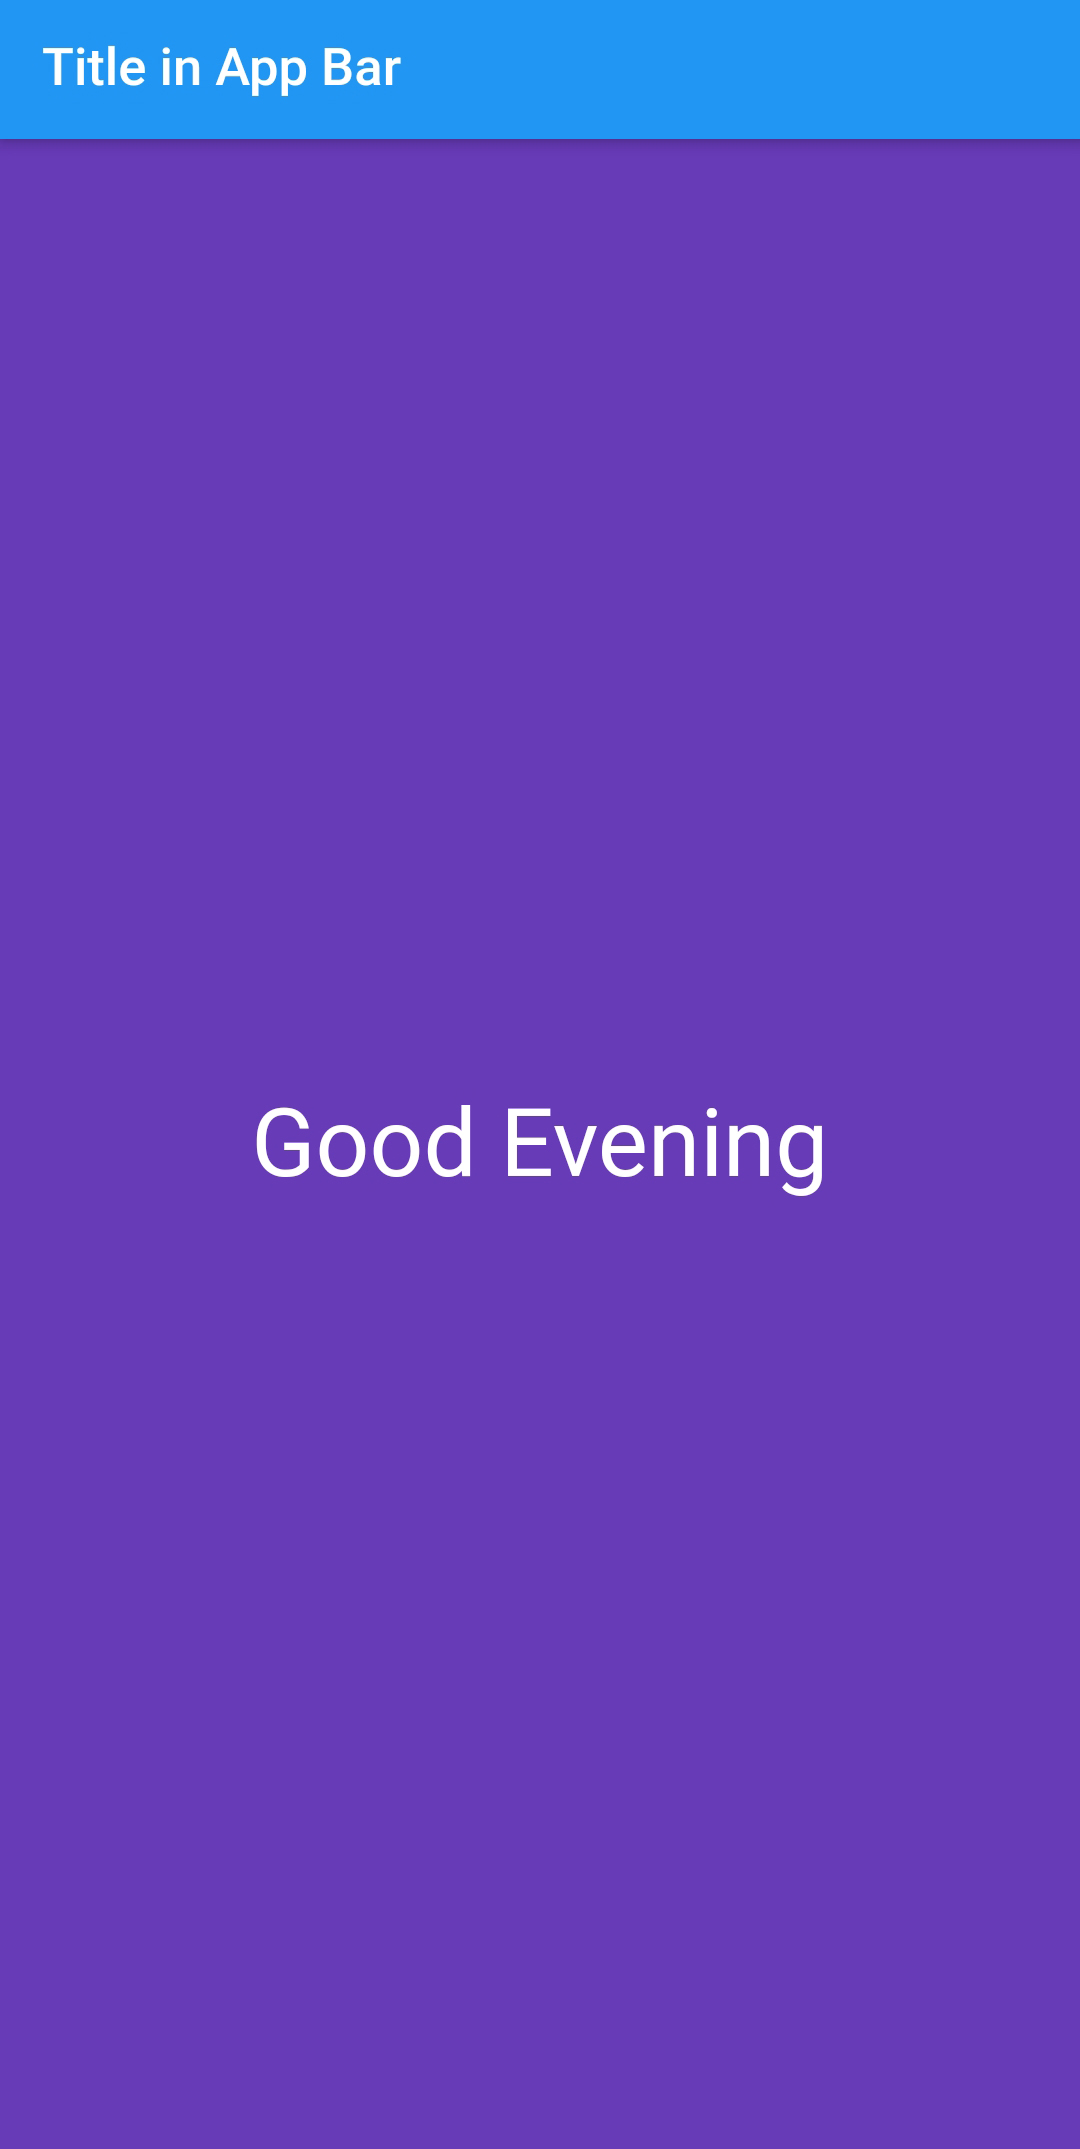
- Call the method instead of showing the hardcoded
Hello Flutter!string:
class HomePage extends StatelessWidget {
const HomePage({Key? key}) : super(key: key);
Widget build(BuildContext context) {
return Scaffold(
appBar: AppBar(
title: const Text("Title in App Bar"),
),
body: Material(
color: Colors.deepPurple,
child: Center(
child: Text(
sayHello(),
textDirection: TextDirection.ltr,
style: const TextStyle(color: Colors.white, fontSize: 36.0),
),
),
),
);
}
String sayHello() {
String hello;
DateTime now = DateTime.now();
int hour = now.hour;
if (hour < 12) {
hello = "Good Morning";
} else if (hour < 18) {
hello = "Good Afternoon";
} else {
hello = "Good Evening";
}
return hello;
}
}
2
3
4
5
6
7
8
9
10
11
12
13
14
15
16
17
18
19
20
21
22
23
24
25
26
27
28
29
30
31
32
33
34
35
36
37
38
- Since you call the function
sayHello(), theMaterialwidgets can't be a constant anymore. Don't forget to remove theconstkeyword. - Your app should now look like the image below:
- Well done! You've completed your first Flutter app. Let's try to make the UI a litte bit more attractive in the next section